Keto Fathead Pierogies
This low carb and keto pierogi is made using the legendary fathead dough stuffed with a cheesy mashed cauliflower.
Real Recipes for Real Families
This low carb and keto pierogi is made using the legendary fathead dough stuffed with a cheesy mashed cauliflower.
This basic bacon-roasted brussels sprouts recipe can be made into a side dish with a sweet and spicy mustard sauce, or a savory breakfast scramble.
One of my favorite Thanksgiving side dishes (and let’s be honest, it’s all about the side dishes) is the old-school green bean casserole, with the Durkee French onions and the cream of mushroom soup. Decidedly not keto. Even if you can find a gluten-free version of the soup, it’s loaded with carbs. This recipe does a great job of nailing the flavor of the original. It’s a lot more time-consuming than dumping a can of cream of mushroom soup into some beans, but it’s worth it, I promise.
The reason it’s time-consuming is that you have to come up with a way to duplicate the French onions, and the only way I’ve managed to pull it off is to make them myself. This takes about an hour. It’s definitely something that can be done the day before Thanksgiving, though, so there’s that. You’ll need four or five large shallot bulbs for this step, plus another one later. Slice them into thin slices (about 1/8 inch), then pop the slices out into rings. You’ll end up with two cups or so of shallot rings.
Heat up a cup and a half of avocado oil, plus about six tablespoons of butter, in a medium heavy saucepan. I use a two-quart saucepan for this one. You’ll want the oil to be no hotter than 325 degrees when you put the shallot rings into it, and around 300 degrees when they’re cooking. This involves medium-low heat. To make sure I’m doing it right, I use this cool infrared thermometer. It’s great for testing the surface temperature of something, which is perfect for deep-frying things if you don’t have a deep fryer. I use it for wings all the time. So once your oil has reached the proper temperature, add your shallot rings, and the waiting game begins.
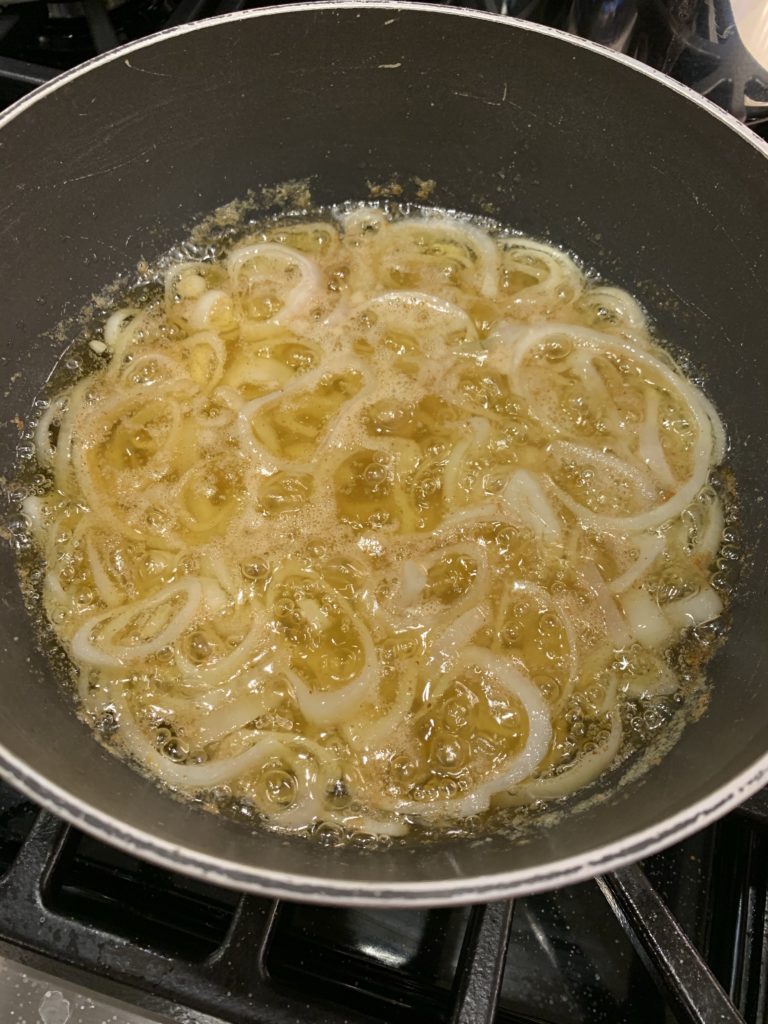
For the first thirty minutes, check them every five minutes and give them a quick stir. After that, you’ll want to watch it like a hawk, because they go from undercooked to overcooked very quickly if you’re not careful.
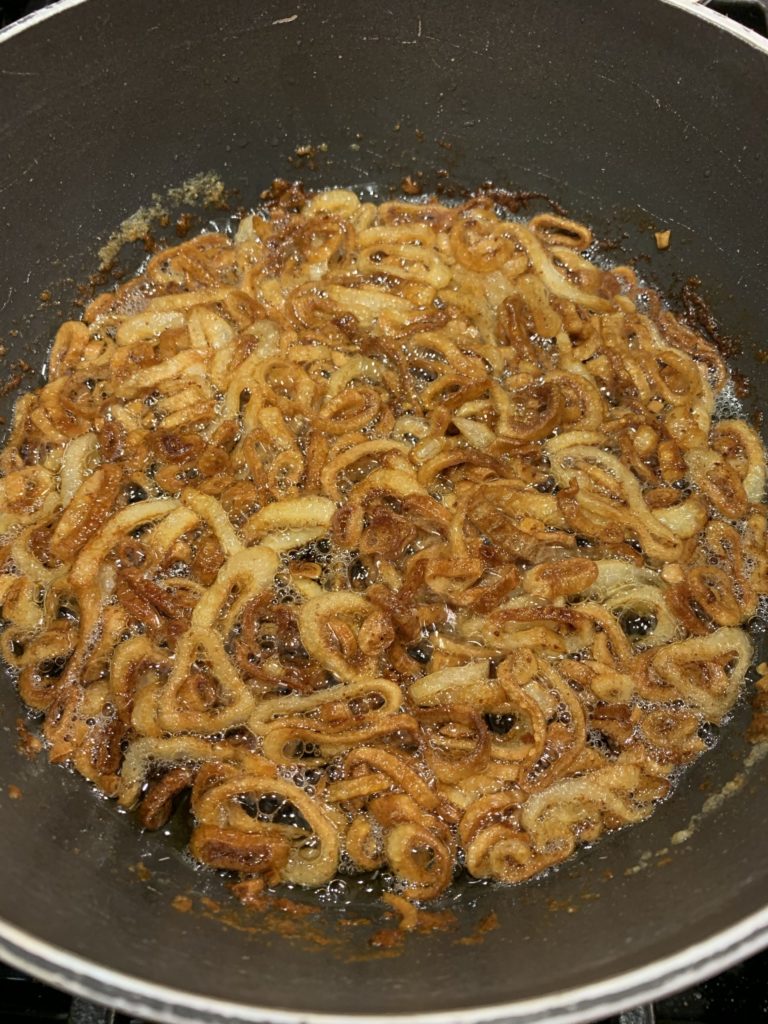
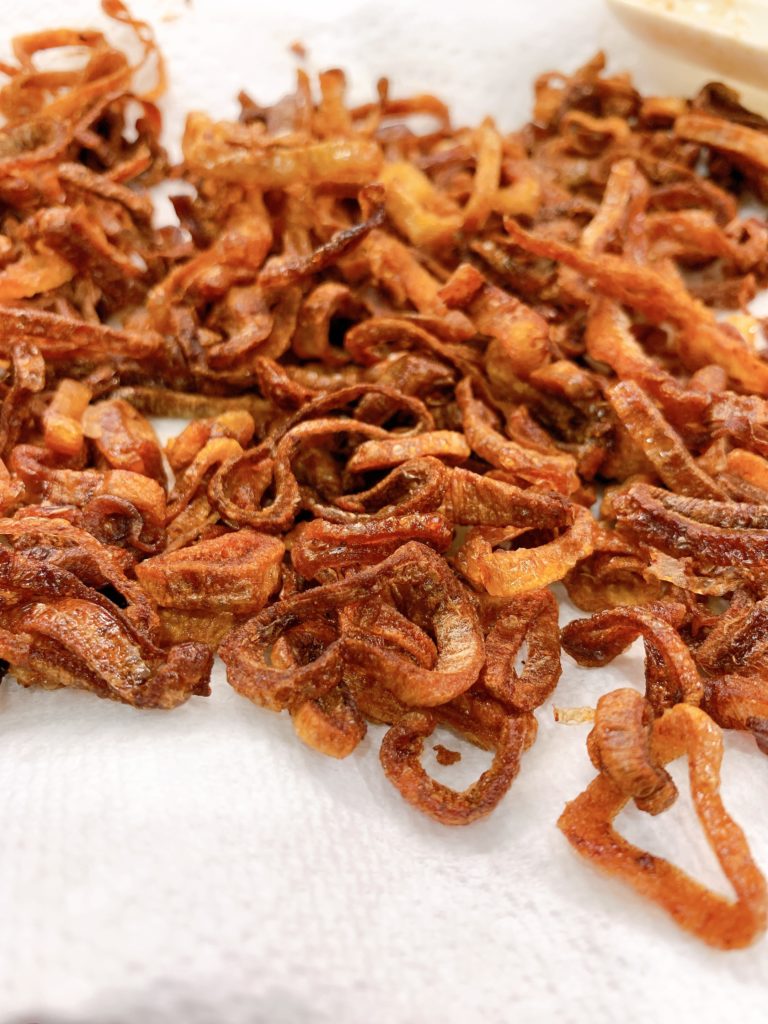
When they’re done, use a slotted spoon or better yet, a spider strainer to remove the shallots from the oil. Put them on a towel-lined plate to drain. When they’ve fully cooled, you can put them in a ziploc bag or airtight container and use them the next day to make the casserole.
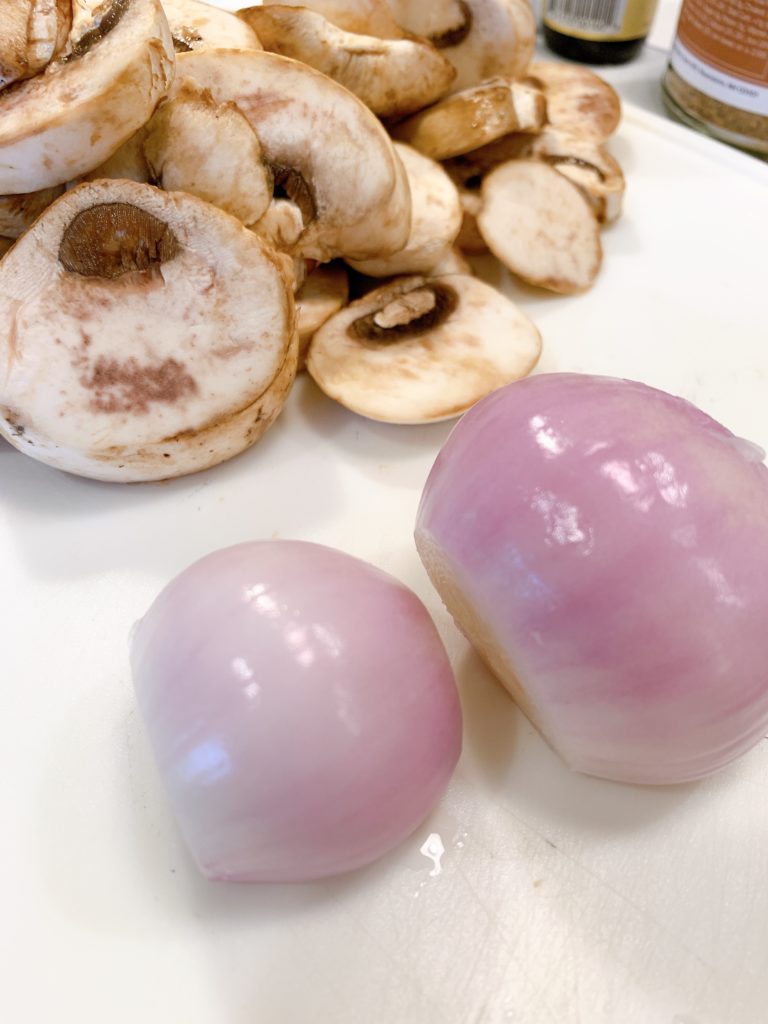
So finally, we’ve hit Thanksgiving day and we’re ready to make that casserole. Start with another full shallot bulb, which you’ll mince finely. Put a tablespoon of butter in a nonstick skillet and begin frying the shallots over medium heat. While those are frying, mince 8 ounces of mushrooms. I start with sliced because it’s easier. White mushrooms are fine, but if you want to go fancy and use baby bellas, it’s fine by me. You’ll want these to be the texture of a nice cream of mushroom soup that you’d get in a restaurant, not that canned stuff. We’re going full on fancy, so you might as well act the part. Plus, the less chopping on Thanksgiving morning, the better.
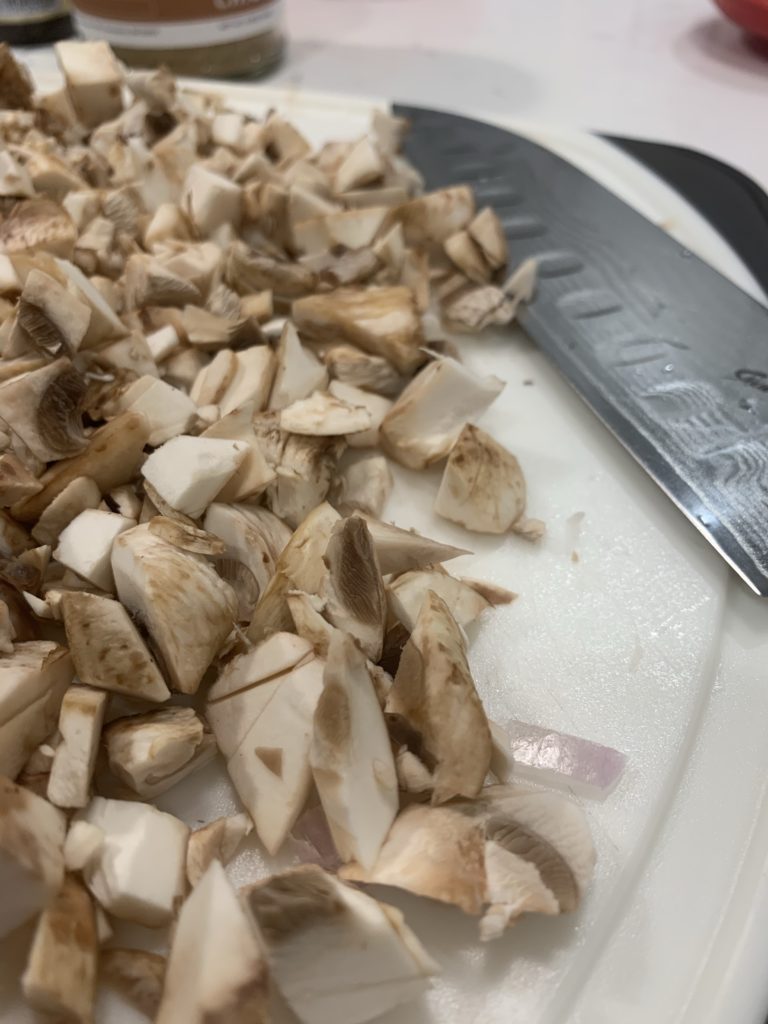
Once you’ve finished chopping the mushrooms, throw them in the pan with the shallots, and let them cook down while you steam the green beans. I used two pounds of green beans and steamed them in two batches in the microwave. If you do this, put them in a large food storage container with two tablespoons of water, then put the lid on top upside down and microwave on high for 3-4 minutes. Since they’re going to be cooking in the oven as well, aim for crisp-tender however you steam them. When they’re done, put them in a 9×13 baking dish and toss them with a few pinches of salt and pepper to taste.
By the time you’ve finished cooking the green beans, your shallots should be soft and golden brown and your mushrooms should be about finished releasing liquid. Pour a cup and a half of heavy cream over the mushrooms and add four ounces of cream cheese, cut or torn into cubes. Keep cooking over medium heat, whisking the cream cheese into the heavy cream until the sauce is smooth. Whisk in two teaspoons of soy sauce, tamari, or coconut aminos, and a teaspoon of Worcestershire sauce, along with salt and pepper to taste. Allow to simmer for about five minutes to allow the sauce to thicken a bit and the flavors to meld, then remove it from the heat, stir in half of your crispy shallots from the day before, and pour it all over the green beans.
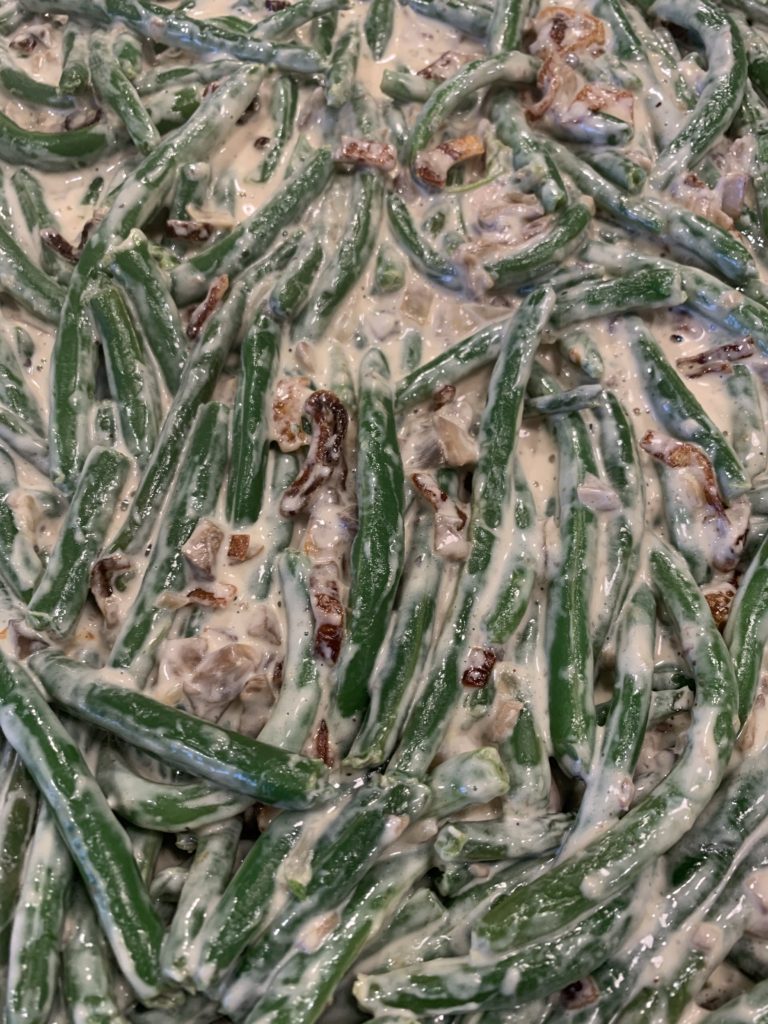
Toss it around to make sure everything is coated, then pop it in a 350-degree oven for 25 minutes. Once the timer goes off, remove it from the oven, top with the remaining crispy shallots, and then cook for another 5 minutes before removing it from the oven. It’ll keep in a warm oven for a while if you need, although the shallots on top will darken a bit. Enjoy your Thanksgiving dinner! Or what the heck, eat them for Christmas, too.

As an Amazon Associate I earn from qualifying purchases. Any embedded link to a product earns me a portion of the purchase price if you click and buy it.
With these fish fingers, low-carb coleslaw, and caper-dill tartar sauce, you’ll have everything you need for a keto fish fry!
The classic southern summer favorite of fried green tomatoes, done with a low-carb breading and a spicy twist!
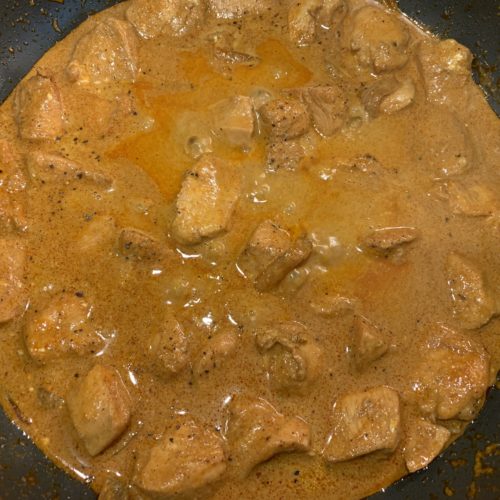
Ever have one of those days where you just need some comfort food, stat? I had a really rough week last week, for various reasons, so last Thursday when I was meal-planning for the upcoming week, I ended up with a fairly comfort food-heavy menu rotation. As you know if you have been following this blog, I do my meal-prep work on Sundays, so I have breakfasts and lunches to last me through the week, and I only have to worry about cooking dinners. This recipe became my lunches for the week, and so far so good on the comfort front, because I just ate it and I’m feeling pretty good today. I apologize in advance, though, for how ugly it is. Is there a word that means the opposite of photogenic? Because if so, this recipe is that. But it’s also pretty dang tasty, so you’re just gonna have to deal.
Start by melting 2 tablespoons of butter into a Dutch oven or other large, deep saucepan over medium heat. While the butter melts, chop 3 large chicken breasts (about 1.5 pounds) into bite-sized pieces and sprinkle them with a teaspoon of salt and pepper to taste. This would work great with thighs, too, if that’s what you have. Slice a small onion, French style, yielding about 3/4 cup of onion total. Look at the image below for an example of what the onion slices should look like. Put both the chicken and the onion in the stock pot with the butter and cook, stirring occasionally, until the chicken and onions brown.
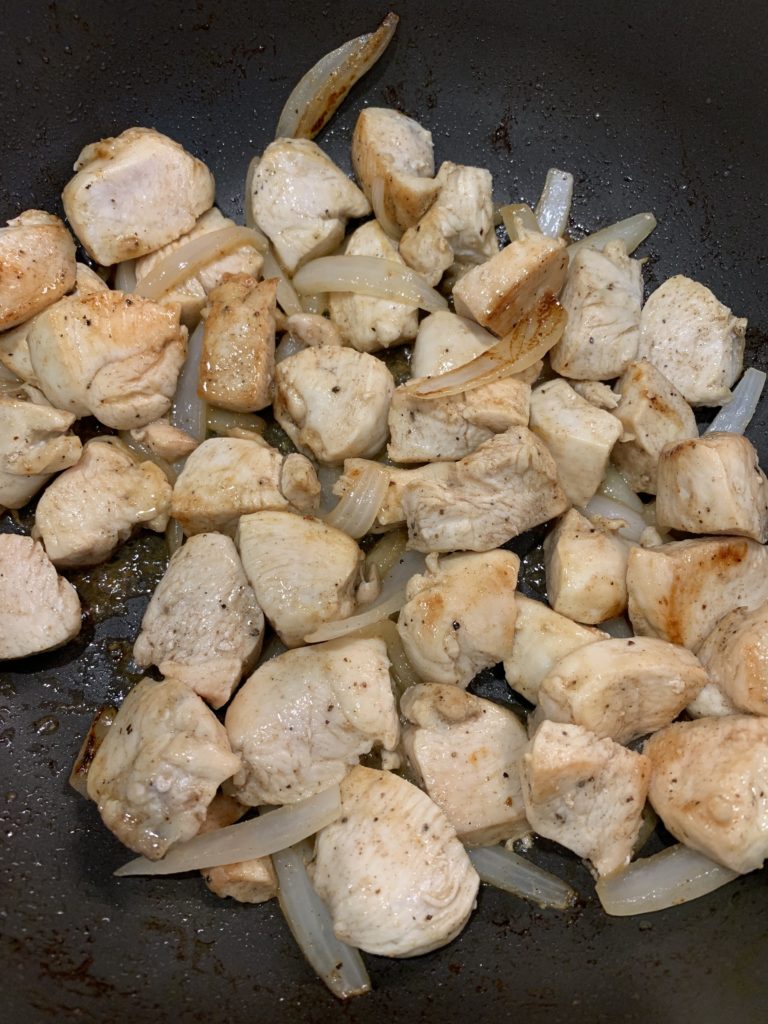
Add 2 tablespoons of paprika, a teaspoon of garlic powder, and a cup of chicken stock to the pot and begin to boil. Eventually, the broth will reduce and get thick and slightly syrupy. You’ll want it to reduce by about 1/2, so there will be about a half-cup of red broth in the pan with the chicken. At this point, add a half-cup of sour cream, stir, and reduce the heat to a low simmer. Continue to cook until the sauce is as thick as you’d like it, then taste for seasoning and add more salt and pepper if you’d like.
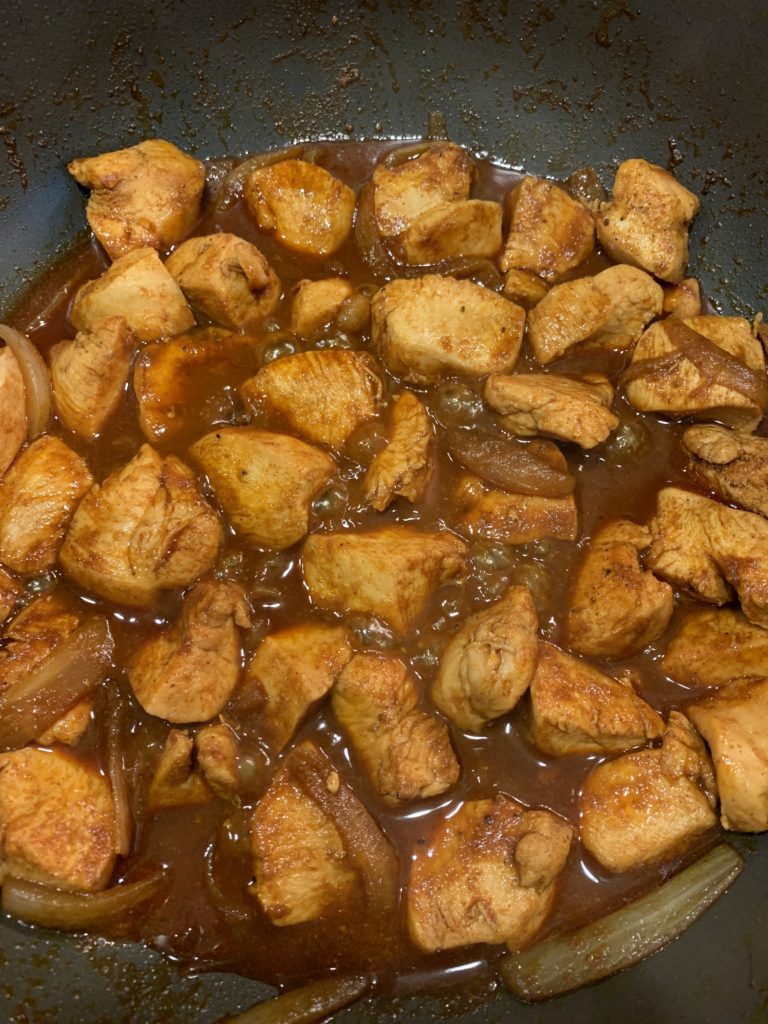
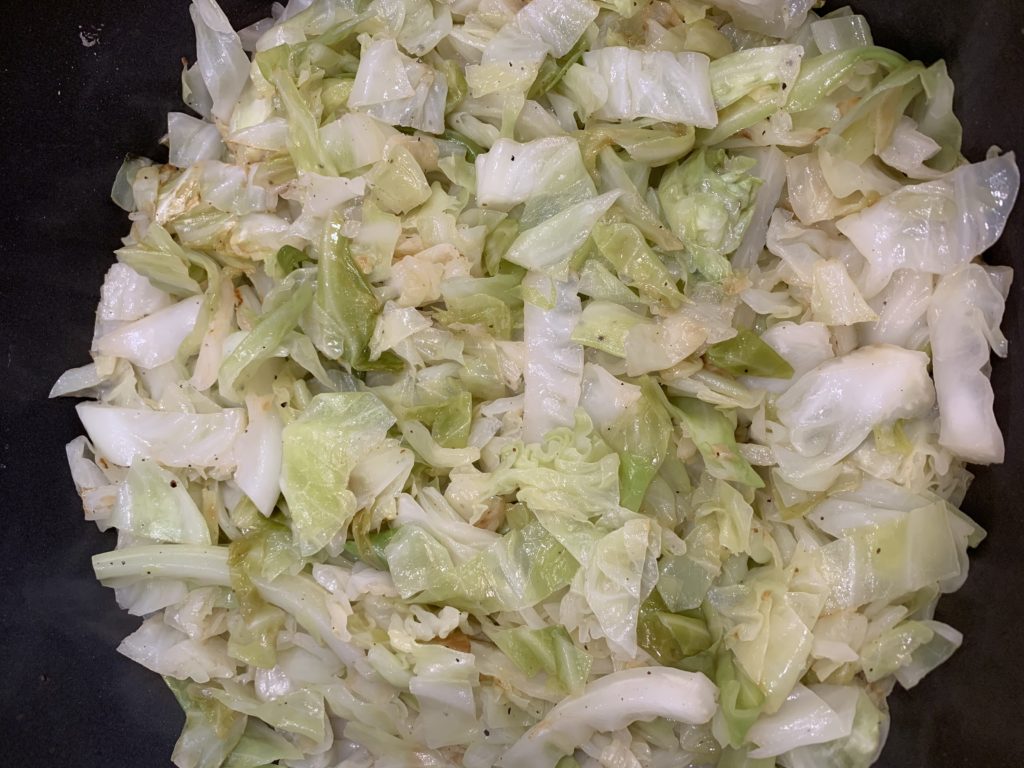
For a side, I served it over cabbage noodles. These are super easy. Core a head of cabbage and slice it into ribbons that are about a half-inch thick and 3-4 inches long. You’re going for wide egg noodle size. Heat up 2 tablespoons of butter over medium heat in a large pan big enough to fit the entire head of cabbage. Add it in batches by covering the bottom of the pan first, then sprinkling with 1/2 teaspoon of salt and pepper, then adding more cabbage, salt, and pepper until it’s all in there, stirring in between each addition. Mine took 3 layers to get it all in there, but yours may take more depending on the surface area of your pan. Don’t use more than a teaspoon and a half of salt to start. You can always add more, but you can never take it out. Cook the cabbage, stirring frequently to make sure that all the cabbage is on the bottom of the pan at some point in time, until the thickest pieces have softened and some of the cabbage begins to brown, about 15-20 minutes. Serve with the stew on top of the cabbage, and be comforted.

As an Amazon Associate I earn from qualifying purchases. Any embedded link to a product earns me a portion of the purchase price if you click and buy it.
A delicious, crispy keto snack. Who needs potato chips when you have zucchini!
Need to use up all that extra zucchini from your garden? Try this simple, fresh, and summery keto salad.
Recent Comments