Blackened Ahi Tuna with Spicy Avocado Crema and Quick Mexican Cauliflower Rice
Seared tuna with a spicy cream sauce and simple Mexican cauliflower rice. Great for keto, low-carb, and even Weight Watchers Freestyle.
Real Recipes for Real Families
Seared tuna with a spicy cream sauce and simple Mexican cauliflower rice. Great for keto, low-carb, and even Weight Watchers Freestyle.
A keto ham, turkey and Swiss sandwich between two slices of the Diet Doctor’s french toast. Just…trust me on this.
I should probably mention right off the bat that I’m receiving no compensation for this review. (Although I’d be glad to get some, so hmu, Senza devs!) No recipe here–this one is about my favorite app for tracking macros. I know a lot of keto folks use Carb Manager, but not many have heard of Senza. Senza is basically MyFitnessPal or LoseIt, but specifically meant for the keto diet.
Just like those other apps, Senza starts out by getting your general information–age, gender, height, and current weight. It uses that to calculate your macros. It has me eating 25 grams of net carbs, 100 grams of protein, and 123 grams of fat. It calculates the net carbs of everything so you don’t have to.
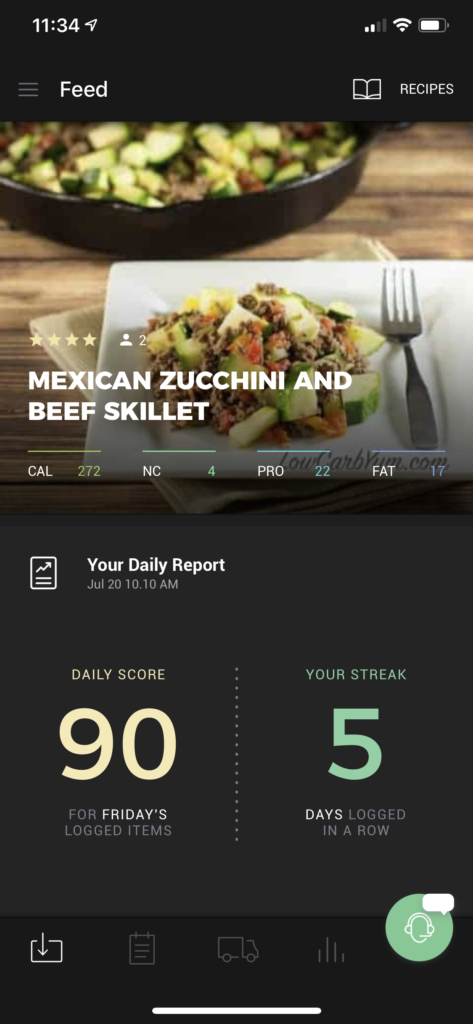
There are two main parts of the app where you’ll spend the most time, your feed and your journal. In your feed there are links to articles about the keto diet, as well as links to fun recipes to try. It’ll also give you a daily report that scores your previous day’s intake from 1-99 based on how close you came to hitting all your macros for the day. The best I’ve ever done is a 98–I’m still searching for that elusive 99! Throw me a screenshot if you hit it.
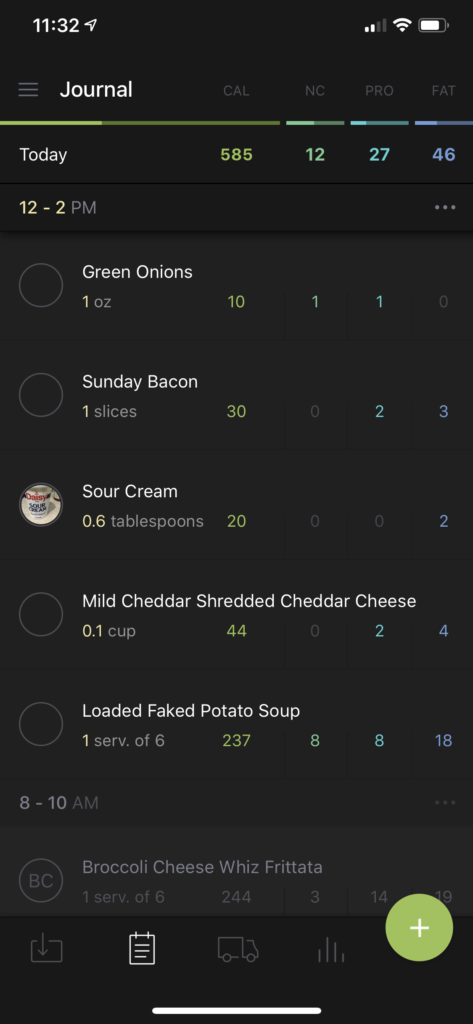
The journal is what you use to actually track your food. They have a great database of foods, from restaurant meals to individual ingredients. You can choose the unit of measurement, too, so if you ate 26 grams of onions, just select “grams” after you search and it’ll filter your results to only entries that measure in grams. This is really cool when you’re cooking, which leads me to my favorite portion of the app.
Under the “My food” tab, you have the option of entering in either an individual product that isn’t on their list, or a recipe. For the product, it’ll have you take a picture of the label, then enter the information. Once they get it and see that you did it correctly, they’ll add it to the database, but until then, you can save it and track it on your own. For recipes, it’ll have you name it, select how many servings are in it, and then you enter in each ingredient individually and it will calculate the macros for you. I think a lot of people on keto have trouble tracking when they cook at home, because it’s so hard to figure out exactly what is in each serving. This makes it foolproof. My recipe macros are calculated using this feature.
Another interesting feature that I haven’t used all that much is “Keto Radar”. If you allow the app to see your location when you’re using it, it will show you nearby restaurants that may have keto options. I find it a little bit limited, especially with non-chain restaurants. For example, when I search around my workplace, I can see all the restaurants, but the only one that has low-carb menu options shown is Chipotle. It only shows restaurants within about a five-block radius, which is nice if you need to grab a quick lunch and you’re not sure what’s nearby. But overall, I don’t find this feature to be particularly useful. If I traveled a lot for work, it would probably be invaluable.
The app also has some cool coaching features that I haven’t tried. What I like about those is that you can earn points with the app by tracking foods or adding friends, and then use those points to get help. I have over 17,000 points earned since January, and to give an example, a one-day meal plan is 100 points and a macro review is 650. They also sell some products, which I think you can use points for discounts, but I’ve never tried so don’t quote me on that. You can add friends, track your weight or exercise, and link to Apple Health or Fitbit. You can also set up the app to change your macros if you exercise enough. For example, if I burn over 150 calories, I have it set up so I can eat up to an extra 100 calories, with an added 2 net carbs and up to 20 grams of extra protein. I try not to use it, but it’s nice to know that I can. It can also track IF, which I’ve never done because I like breakfast too much to skip it. And finally, they have an option for real-time chat with keto coaches if you have a question about something. I haven’t tried that one yet, but if you do, please comment with your experience so I can add it to the review!
All in all, Senza is the best app I’ve found to support a keto diet, and I highly recommend it.
It was a balmy 94 degrees outside when I made my meal plan for the week, so of course I decided that what I was currently craving was potato soup. I’m…kinda weird. The second most obvious issue here is, of course, that potato soup isn’t […]
Grilled chicken with a sweet and spicy Korean-inspired marinade, perfect for keto and low-carb diets as well as Weight Watchers Freestyle.
Our garden has started producing cucumbers like nobody’s business, so expect some more cucumber recipes from me in the near future. My next attempt will be refrigerator pickles, because I need to find some way of using all this stuff. There are about 20 blossoms on that plant. I’ll probably have to give some away, but I’m going to do my best to not have to do that. I’m also pretty close to having a bumper crop of jalapeños, so be prepared for some Mexican recipes as well. And zucchini. And our tomatoes just started to turn. Yikes.
My goal here, since I was serving it alongside a Korean BBQ inspired chicken, was to make something resembling kimchi, just minus the fermentation and with a decent amount of added fat for the keto part. This one involves a couple hours of marinating, so don’t make it unless you have time for it to really soak in.
Start with two large English cucumbers. Those are the seedless variety. You can use the seeded ones, just scoop them out before proceeding. Keep the peels on, because you’ll need them to sort of hold things together. Slice them lengthwise down the middle, and then crosswise to make half-moon shaped chunks that are about 3/4 of an inch or so thick. Put them in a gallon-sized ziploc freezer bag.
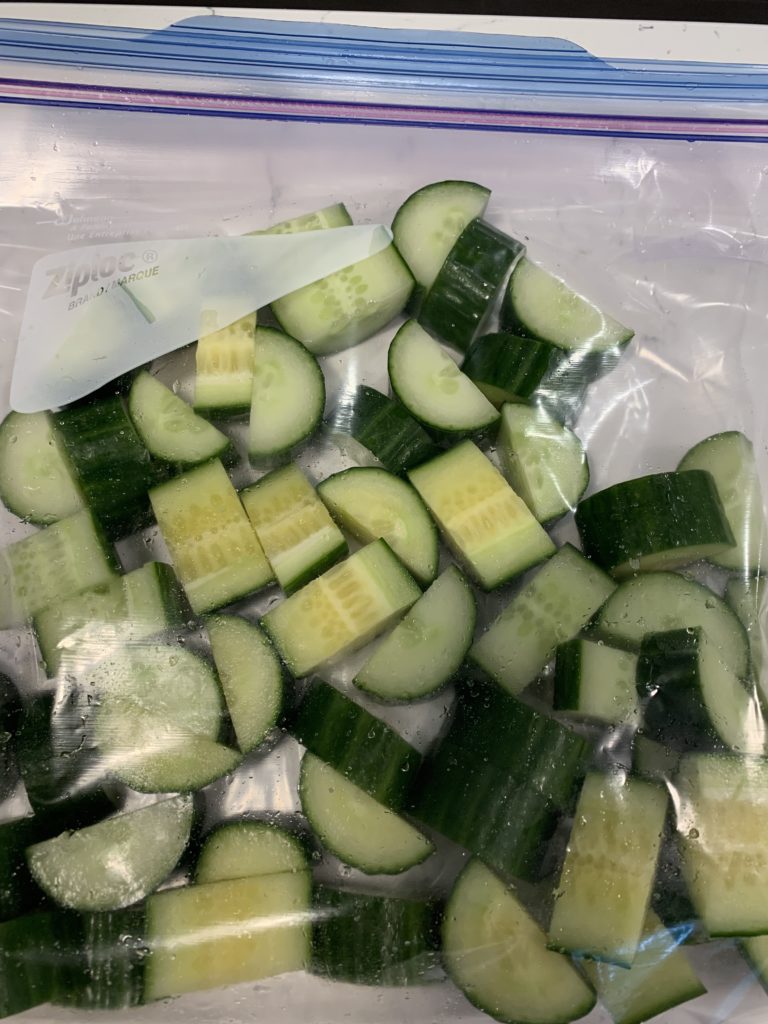
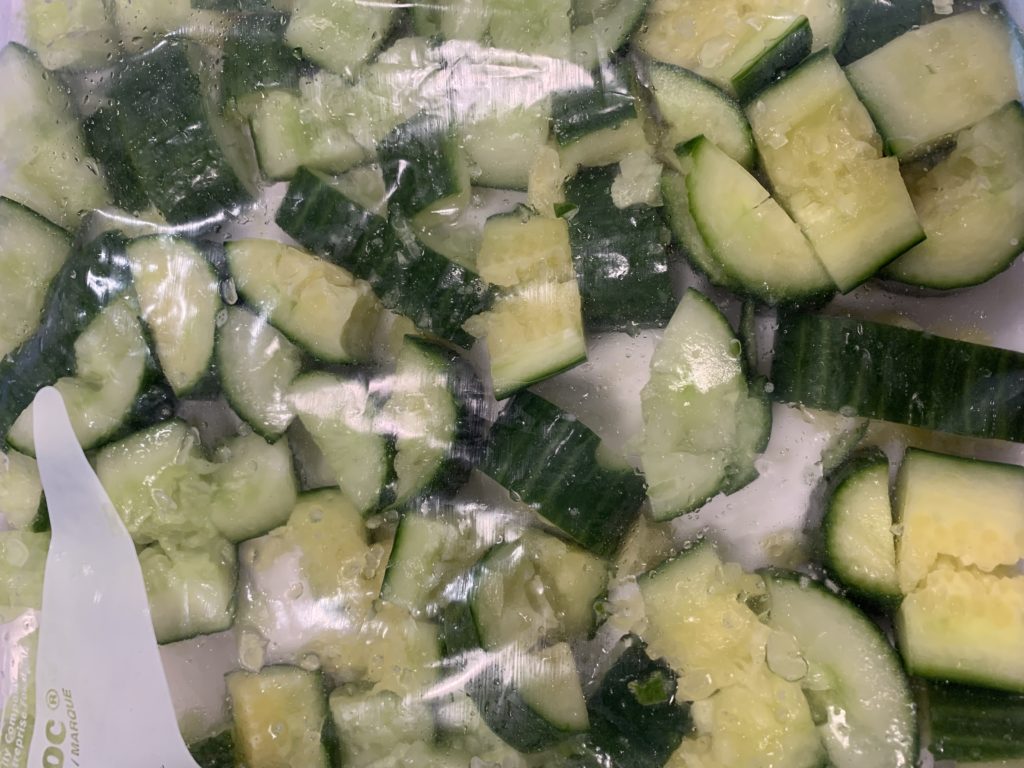
Now here’s the fun part. You get to hit them. Take the flat side of a meat mallet or a rolling pin and hammer them. You don’t want to pulverize them, just break them apart a bit. That’s why you keep the skins on, because it keeps them from being a complete mess. They’ll look like this when they’re ready.
Make the marinade next. For this you’ll want 1/4 cup of rice wine vinegar, 2 tablespoons of sesame oil, 2 tablespoons of soy sauce (tamari or coconut aminos will work depending on how clean your keto is), and a tablespoon each of chili oil and sriracha. Whisk those together, and then pour it over the cucumbers. Be careful, because you may have punctured the bag they’re in. Either transfer them to a new bag or double bag it to avoid a leaky mess. Leave them outside of the fridge for two hours with the bag laying flat on the counter, flipping once. If you make this with my Korean BBQ chicken, you can put the bag back in the fridge when you start the chicken, so the cucumbers can cool a little bit. Just before serving, drain the marinade from the bag. If you’d like, sprinkle it with sesame seeds before serving.

As an Amazon Associate I earn from qualifying purchases. Any embedded link to a product earns me a portion of the purchase price if you click and buy it.
A keto version of the Edgar Allan Poe pizza from Dewey’s Pizza, with a chicken crust.
Tomatoes, fresh mozzarella, and pesto combine with 90-second bread to make a delicious keto sandwich!
Ever have one of those days where you just need some comfort food, stat? I had a really rough week last week, for various reasons, so last Thursday when I was meal-planning for the upcoming week, I ended up with a fairly comfort food-heavy menu rotation. As you know if you have been following this blog, I do my meal-prep work on Sundays, so I have breakfasts and lunches to last me through the week, and I only have to worry about cooking dinners. This recipe became my lunches for the week, and so far so good on the comfort front, because I just ate it and I’m feeling pretty good today. I apologize in advance, though, for how ugly it is. Is there a word that means the opposite of photogenic? Because if so, this recipe is that. But it’s also pretty dang tasty, so you’re just gonna have to deal.
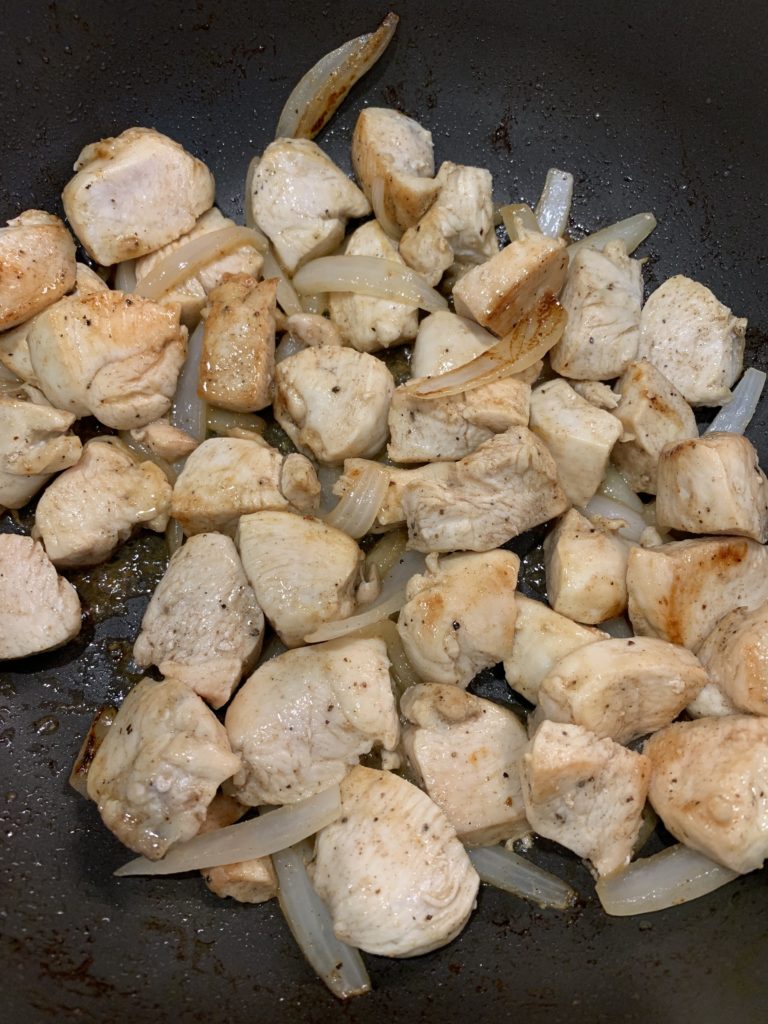
Start by melting 2 tablespoons of butter into a Dutch oven or other large, deep saucepan over medium heat. While the butter melts, chop 3 large chicken breasts (about 1.5 pounds) into bite-sized pieces and sprinkle them with a teaspoon of salt and pepper to taste. This would work great with thighs, too, if that’s what you have. Slice a small onion, French style, yielding about 3/4 cup of onion total. Look at the image below for an example of what the onion slices should look like. Put both the chicken and the onion in the stock pot with the butter and cook, stirring occasionally, until the chicken and onions brown.
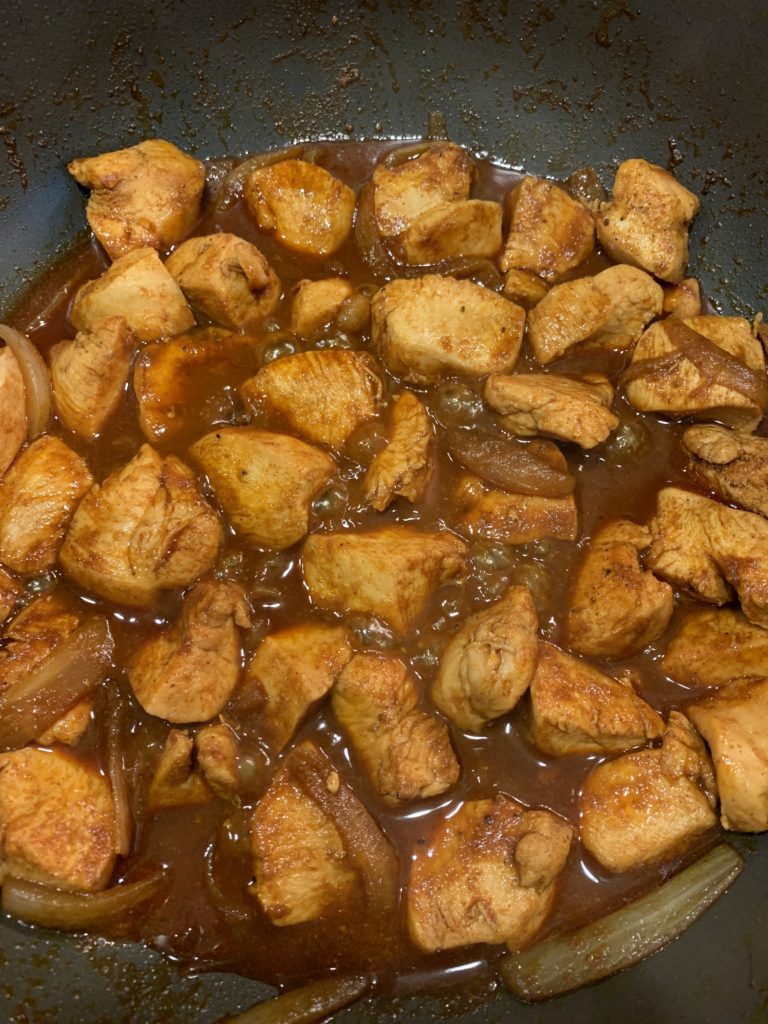
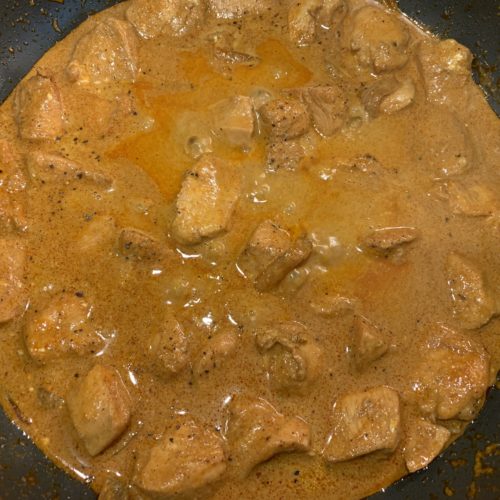
Add 2 tablespoons of paprika, a teaspoon of garlic powder, and a cup of chicken stock to the pot and begin to boil. Eventually, the broth will reduce and get thick and slightly syrupy. You’ll want it to reduce by about 1/2, so there will be about a half-cup of red broth in the pan with the chicken. At this point, add a half-cup of sour cream, stir, and reduce the heat to a low simmer. Continue to cook until the sauce is as thick as you’d like it, then taste for seasoning and add more salt and pepper if you’d like.
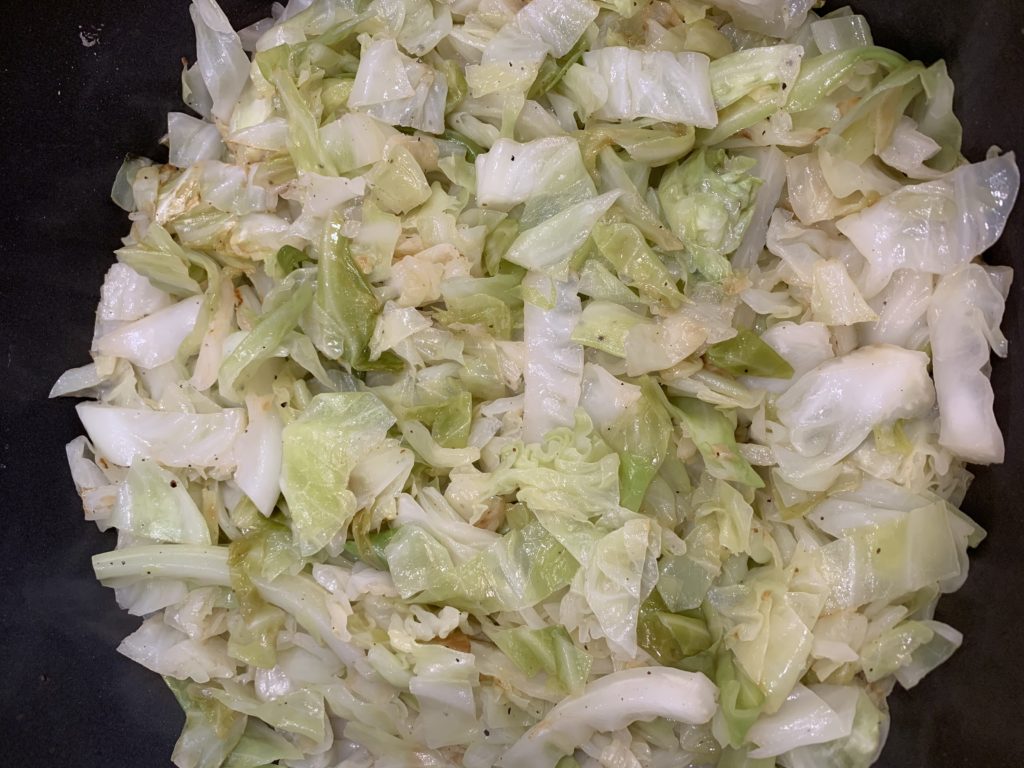
For a side, I served it over cabbage noodles. These are super easy. Core a head of cabbage and slice it into ribbons that are about a half-inch thick and 3-4 inches long. You’re going for wide egg noodle size. Heat up 2 tablespoons of butter over medium heat in a large pan big enough to fit the entire head of cabbage. Add it in batches by covering the bottom of the pan first, then sprinkling with 1/2 teaspoon of salt and pepper, then adding more cabbage, salt, and pepper until it’s all in there, stirring in between each addition. Mine took 3 layers to get it all in there, but yours may take more depending on the surface area of your pan. Don’t use more than a teaspoon and a half of salt to start. You can always add more, but you can never take it out. Cook the cabbage, stirring frequently to make sure that all the cabbage is on the bottom of the pan at some point in time, until the thickest pieces have softened and some of the cabbage begins to brown, about 15-20 minutes. Serve with the stew on top of the cabbage, and be comforted.

As an Amazon Associate I earn from qualifying purchases. Any embedded link to a product earns me a portion of the purchase price if you click and buy it.
Individual keto cheesecakes in cute little mini mason jars! Sous vide has never been so adorable.
Recent Comments