Jalapeño Popper Frittata
Enjoy the classic bar food jalapeno poppers in keto breakfast form!
Real Recipes for Real Families
Enjoy the classic bar food jalapeno poppers in keto breakfast form!
A comforting keto Italian soup made in the Instant Pot, with Miracle Rice instead of pasta. Perfect for meal prep!
At the risk of sounding like one of THOSE food blogs, this recipe reminds me of being a kid back in the 80s. For the first 11 years of my life, I grew up in a small town that only really had chain restaurants. Our fancy restaurant was a Red Lobster, no joke. So basically the only pizza place I ever went to was Pizza Hut. And every time I went, I’d get the same thing–a Personal Pan Pizza Supreme. We never got delivery, so we were always in the restaurant with the tall red plastic glasses of water with crushed ice, the tabletop arcade with Ms. Pac-Man, and the pizza would always come out piping hot. I loved the combination of flavors from the veggies, meats, and that thick greasy crust. I can’t have the crust anymore, but I can have the rest of it. And yeah, I get the deep desire to play vintage Atari games while I’m eating it, but they make emulators for those now, too.
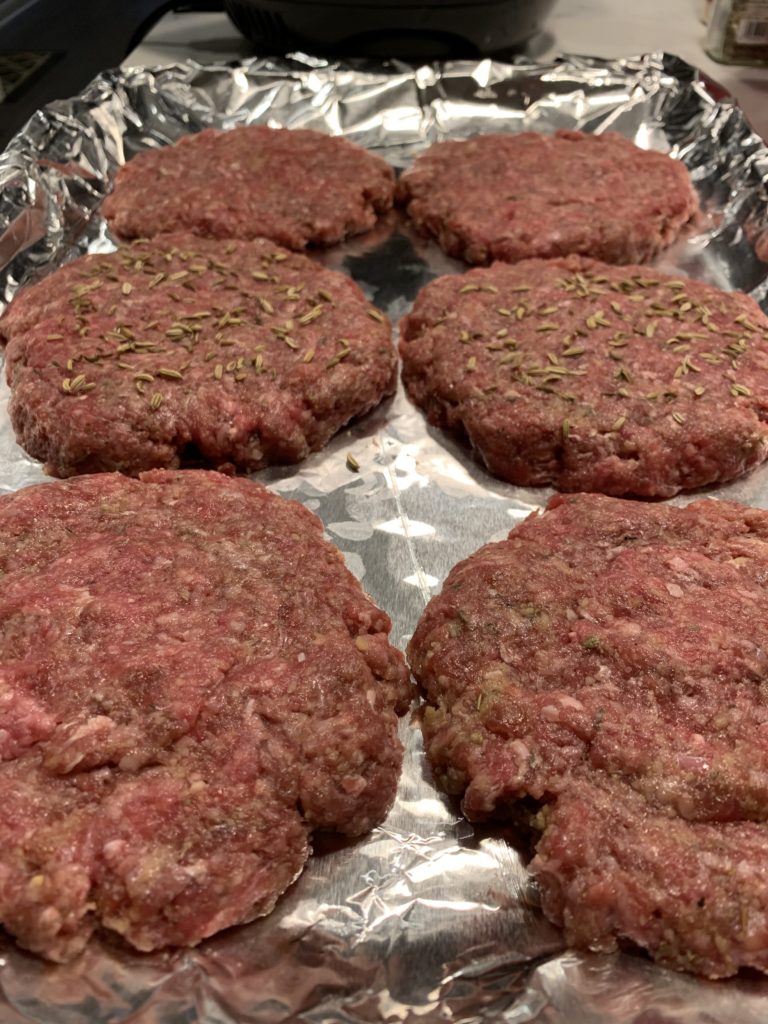
Start off with 2 pounds of ground beef. I use 80/20 or 85/15, but if your family isn’t keto, you can use the leaner ground beef for them. Add an egg, 1/4 cup of grated parmesan, a teaspoon of Italian seasoning, a teaspoon of salt, a teaspoon of fennel seeds if you’d like it to taste more like sweet Italian sausage, 1/2 teaspoon each of garlic powder and onion powder, and black pepper to taste. Mix it together with your hands until the texture is uniform. Line a baking sheet with aluminum foil and make the beef mixture into six equal patties. You can see that I made mine without the fennel seeds and sprinkled them onto two of the patties, because my kids are sometimes ridiculously picky.

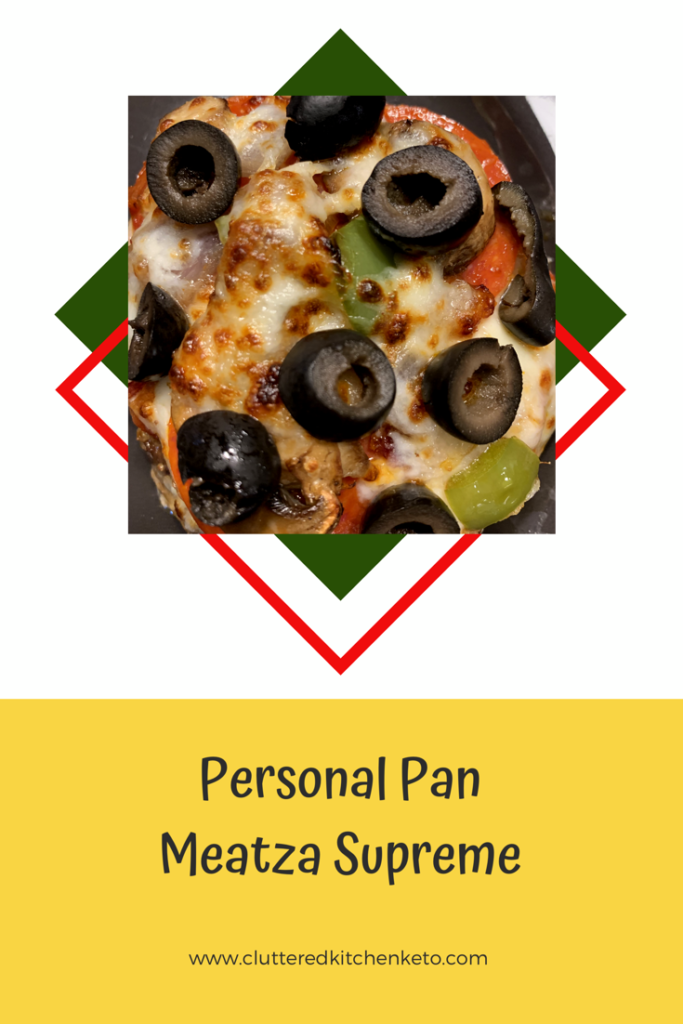
For the toppings to be a true Personal Pan Meatza, you’ll need sliced mushrooms, chopped onion and green pepper, pepperoni, and black olives. Obviously, your mileage may vary on what you prefer to have on your pizza, and that’s the joy of this recipe. Don’t like mushrooms? Don’t use them. Want to add anchovies? Sure, why not? Need more fat? Use actual Italian pork sausage as the base. Need less? Try ground chicken. Are you picky like my kids? Just cheese, pepperoni, and sauce. The possibilities are as endless as the menu of options at your favorite pizza place. Just make sure that if you use veggies, they’re pre-cooked and still warm, as this won’t be in the oven all that long. Saute them up while the patties are baking.
Put the untopped patties into an oven that’s been preheated to 450 degrees, and cook the patties until they’re cooked through, about 10 minutes or so. Remove from the oven. There will be a lot of accumulated grease and juices in the bottom of the pan. Either carefully drain it or do like I do and soak it up with a wad of paper towels. Top each patty with a tablespoon of pizza sauce–I like the Rao’s brand for pizza and pasta sauces, but if you can’t get that, just find the one with the fewest net carbs. Add a bit of cheese, then toppings, then more cheese. I prefer to do the pepperoni first, then the veggies, then more cheese, then the olives. I use a full 2 cups of shredded mozzarella on this. Turn on your broiler and broil the patties, watching carefully to make sure that nothing burns. When the cheese gets happy brown bubbles on it, remove it from the oven and serve.

As an Amazon Associate I earn from qualifying purchases. Any embedded link to a product earns me a portion of the purchase price if you click and buy it.
An easy and elegant one-pan keto chicken dish, perfect for when you’re feeling fancy on a weeknight.
Need to use up all that extra zucchini from your garden? Try this simple, fresh, and summery keto salad.
Our kids finished school last Friday, and the family tradition is to go for fro-yo right after we pick them up from school. They love to pick from all the different flavor combinations…or, in my daughter’s case, just get a tiny bit of 75% of them jumbled together in the same cup. The combination of Red Velvet and Cheesecake flavors sounded delightful, but of course I could not partake without knocking myself completely out of ketosis. So out of yearning, and almost necessity, my Red Velvet Cheesecake Fat Bombs were born.
To get started, put a stick of butter and a block of cream cheese out on the counter to soften. If you’re short on time, put the butter into a freezer bag and flatten it with a rolling pin or mallet. It’ll soften much quicker with the increased surface area. Once both are softened, put them in a large bowl and mix with a hand mixer on medium speed until it’s smooth, scraping down the sides with a rubber spatula as needed. Add six tablespoons of powdered erithrytol (I like the Swerve brand) and mix on low speed until the sugar is completely incorporated. Add a tablespoon of cocoa powder and a half teaspoon of vanilla, and mix again. Remember to keep scraping down the sides! Finally, add red food coloring until the color is to your liking. I used probably a half teaspoon, but your mileage may vary depending on the type of food coloring you use.
Using the same rubber spatula you used to scrape down the sides of the bowl, scoop the batter into a gallon-sized freezer bag or a pastry bag. If you’re using the freezer bag, cut off one of the corners. If you’re using a pastry bag, pick whatever tip you’d like. Pipe the mixture onto a piece of parchment. I did it in a circle with a little swirl on top, pretty much the exact way I made my stepson’s poop emoji cupcakes for his 10th birthday. Make sure that the parchment isn’t too big, because you’ll need to move it into your fridge or freezer with the very soft fat bombs still on it. If you have room for a cookie sheet in your fridge or freezer, line it with the parchment and then go to town. But if you’re like me and have to make room, use smaller pieces of parchment.
Chill until firm. I usually eat a spoonful while it’s soft and then save the rest for the next day. These can be eaten right out of the freezer if you prefer to keep them in there, or you can put the frozen ones into a baggie and leave it in the fridge–they won’t lose their shape unless something falls on them.
As an Amazon Associate I earn from qualifying purchases. Any embedded link to a product earns me a portion of the purchase price if you click and buy it.
Recent Comments