Deconstructed Chicken Kiev
Chicken Kiev, now both keto and hassle-free! Plus get a bonus recipe for a simple arugula salad that works great as a side dish.
Real Recipes for Real Families
Chicken Kiev, now both keto and hassle-free! Plus get a bonus recipe for a simple arugula salad that works great as a side dish.
Now you can have your favorite fall beverage for breakfast without guilt! These keto pumpkin spice latte muffins have all the flavor of Starbucks without all the carbs.
When I posted my recipe for Char Siu pork belly, I mentioned that I had plans for the leftovers, and if it worked I’d post it here. Well, last night I ended up making these Mu Shu tacos, and they were as good as I was hoping they’d be. So here they are!
This does take a bit of effort, but it’s entirely worth it. The first thing you’ll need to do is save your leftover hoisin sauce from the original pork belly. It’ll last for a while in the fridge, as nothing in it is particularly perishable. You’ll also need to make a second full batch. Keep them separate, because the new batch will go into the cabbage mix and the leftovers can be drizzled on the tacos. As for the leftover pork, for this recipe I used half of the pork belly. To prepare it for this recipe, cut it in half crosswise and slice it thinly lengthwise, then set it aside for now. After the pork belly is sliced, put two large dried wood ear mushrooms in a heatproof bowl and cover them with boiling water. Set those aside for at least 20 minutes, which incidentally is the amount of time it’ll take to make the rest of the stuff.
You also need to make tortillas, so get those started first, as they’re going to take the longest. Coat a nonstick skillet with cooking spray and heat it to medium. I use this avocado oil variety, which you can get from Costco or Amazon. For the tortillas, I use a recipe that has pork rinds as a base. While you can use regular pork rinds, I used pork rind crumbs so there were no chunks from underblending. 
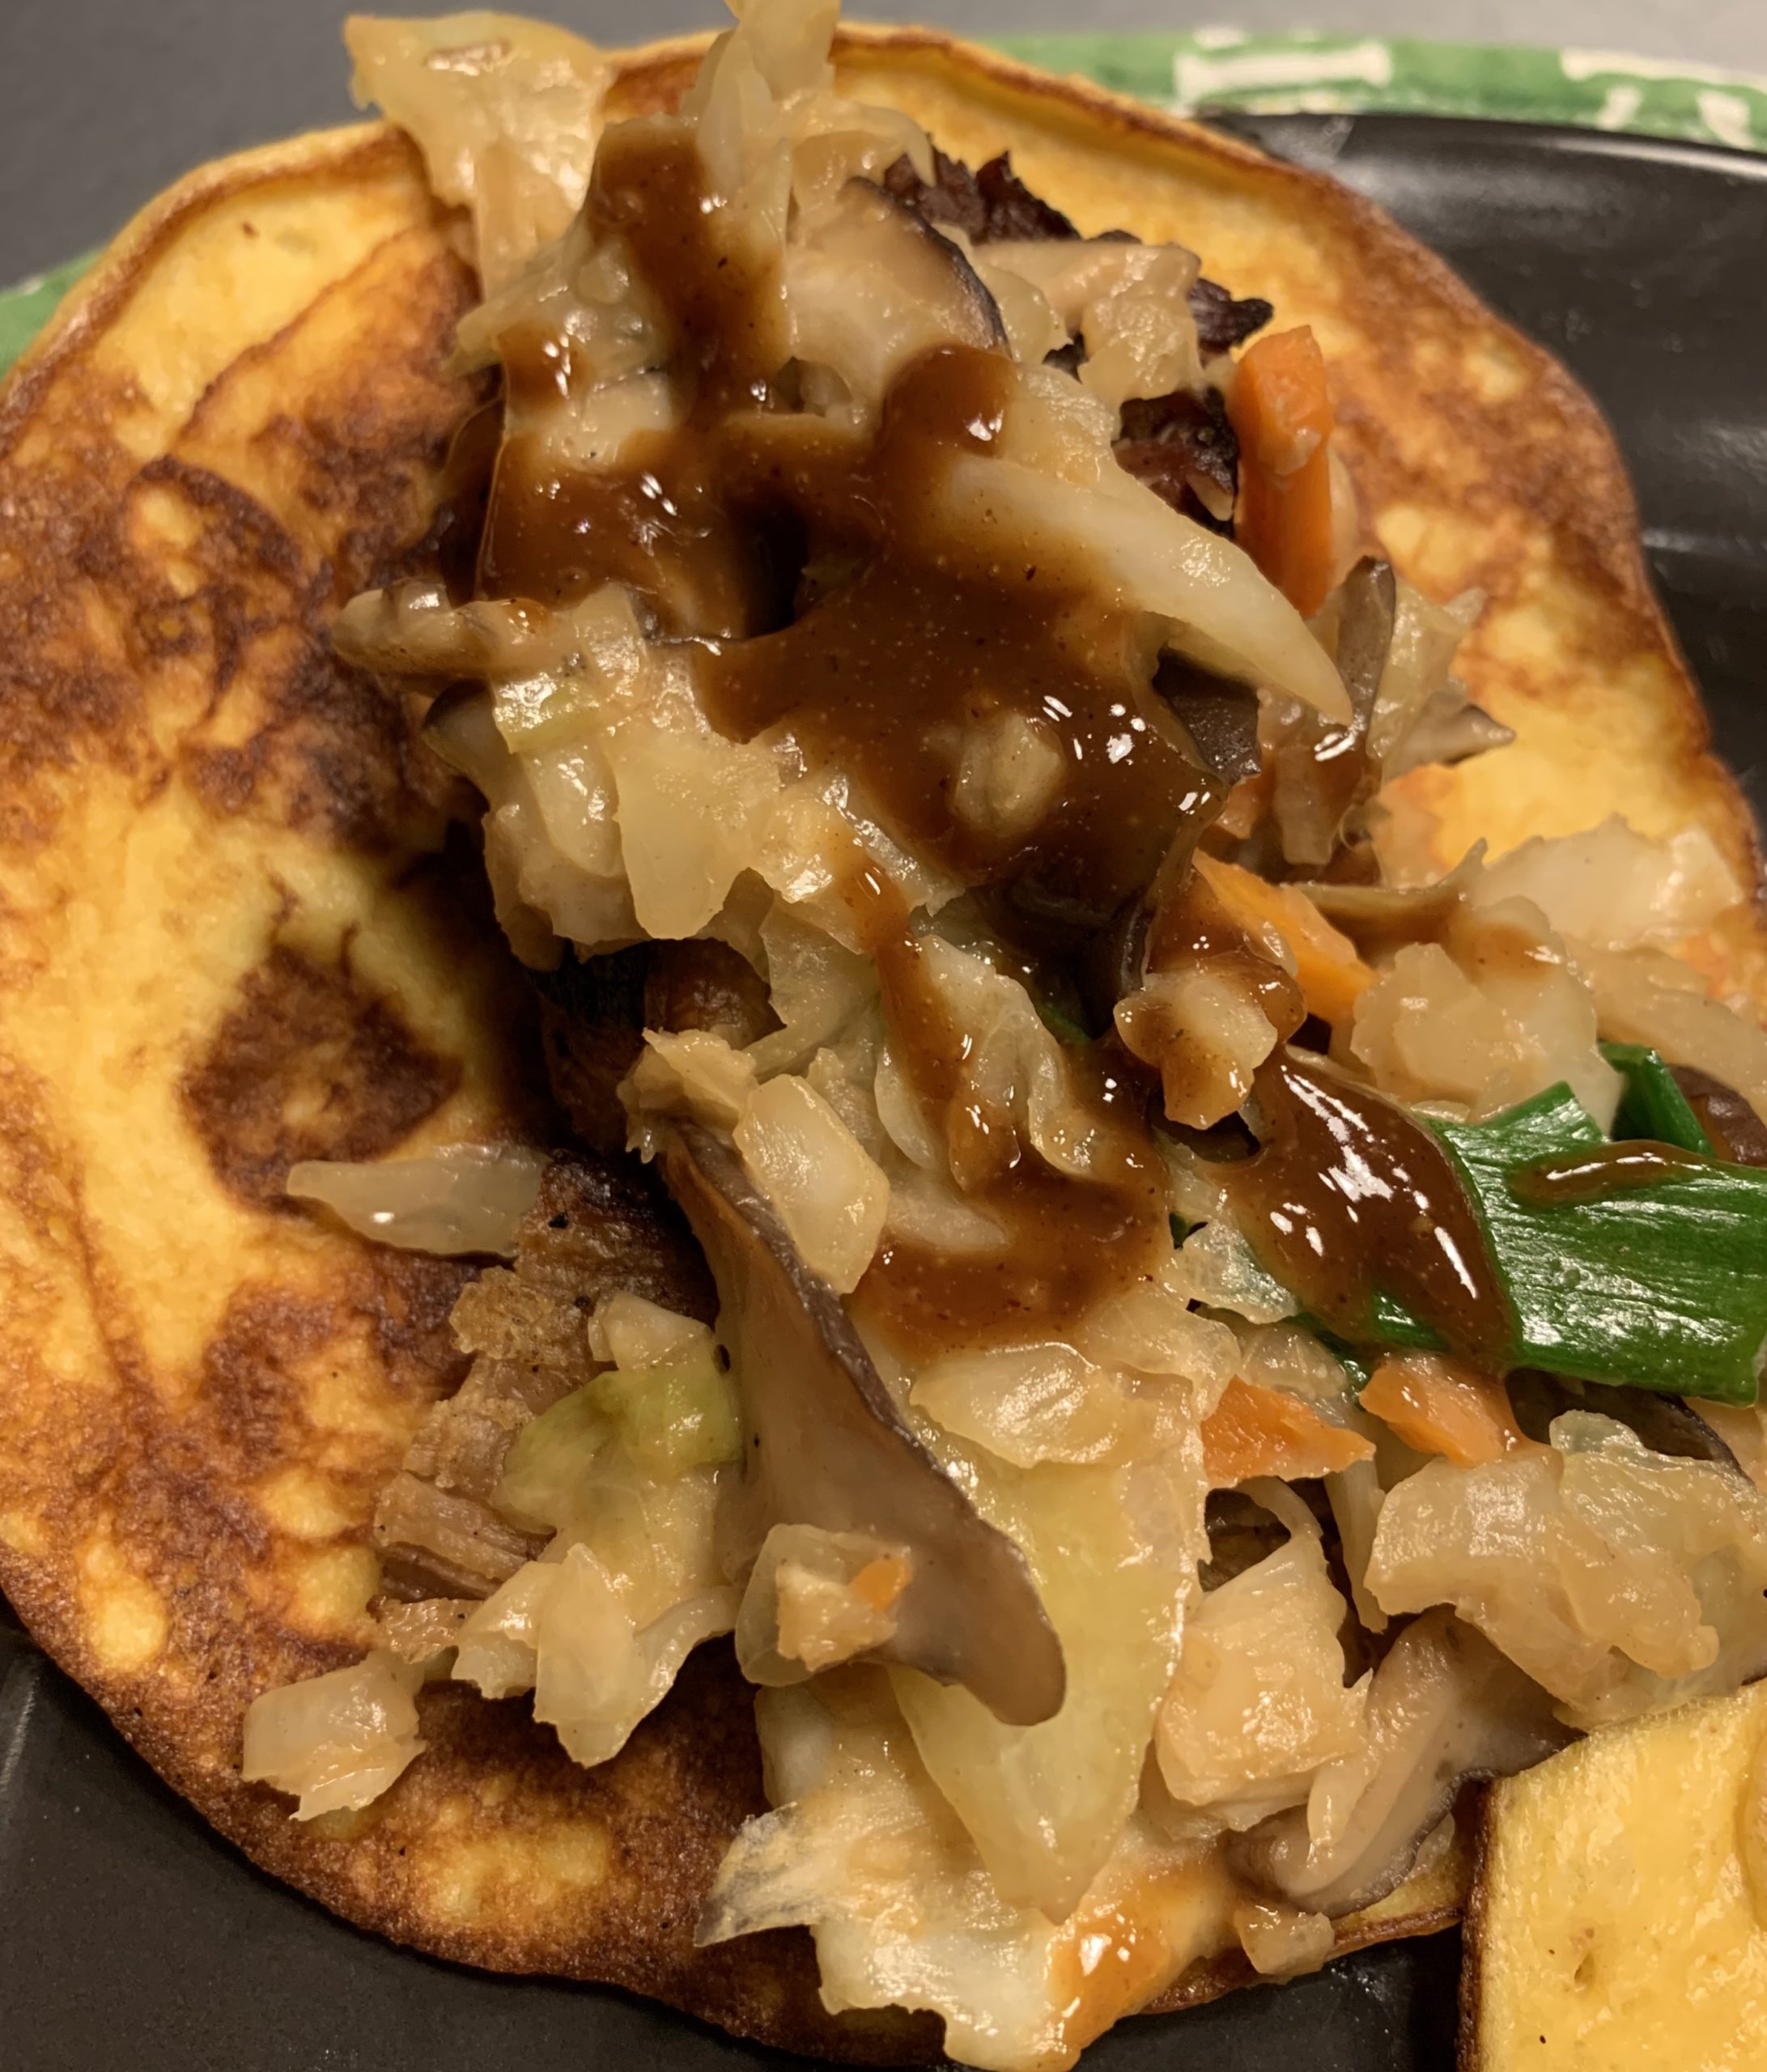
Mu Shu Pork Tacos
Equipment
Ingredients
For the Tortillas
For the Taco Filling
Instructions
For the Tortillas
For the Taco Filling
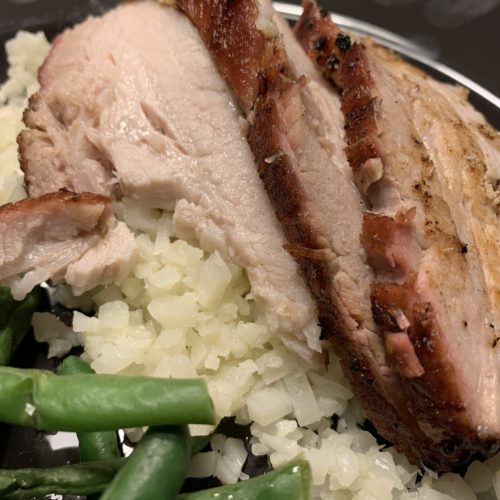
Sous Vide Char Siu Pork Belly
Equipment
Ingredients
For the Keto Hoisin Sauce
For the Pork Belly and Marinade
Instructions
For the Hoisin Sauce
For the Pork Belly
Scrambled eggs mixed with sausage and O’Brien “fauxtatoes” made with celeriac, otherwise known as celery root! A great keto Christmas breakfast.
Have your favorite spicy Chinese takeout food guilt-free with this easy to make low-carb and keto Szechuan chicken recipe!
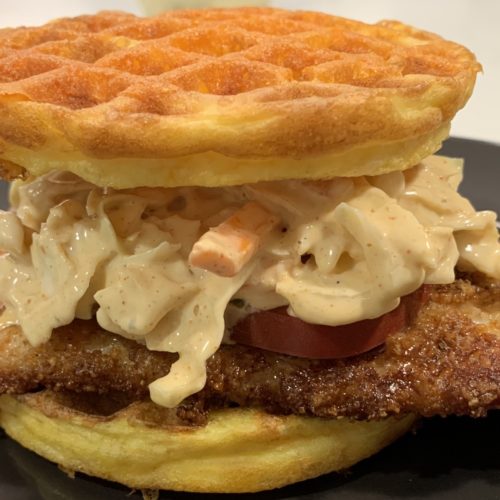
As you may have noticed after the Fathead Runzas post, I’m on a kick of doing keto versions of regional recipes. This one was actually my husband’s idea, when I asked him to brainstorm famous sandwiches I could make using chaffles. He thought for a second and then said “How about a Po’ Boy?” The wheels started spinning, and here I am with another recipe. I’m feeling a bit like Ignis from Final Fantasy XV these days, but I’ll take it.
The base of this one is the chaffle recipe. I waffled (ha!) between doing the standard Wonder Bread chaffle or trying something a little different. For this one, I did a modification of the Wonder Bread recipe by adding Greek yogurt instead of the mayonnaise. This gives it a sourdough taste. And since the standard Po’ Boy is on a baguette, I added shredded cheddar to the top and bottom to give that crispy outside. So to make them, whisk together two eggs, two tablespoons of almond flour, two tablespoons of full-fat Greek yogurt, and 1/4 teaspoon of baking powder. For each chaffle, sprinkle a tablespoon of cheddar directly onto your preheated Dash mini-waffle iron, pour 1/4 of the batter onto it (you may need to spread it around with the back of a spoon or rubber spoonula), and top with another tablespoon of cheddar before closing the iron. Cook for 3-5 minutes. I usually like to go closer to 5, but it’ll depend on how hot your Dash runs. You can check on them without doing them any damage. Keep going until you have 4 chaffles.
While you’re cooking the chaffles, you can work on the Cajun slaw sandwich topping. Start off with a cup of shredded coleslaw mix and put it in a small bowl. In another small bowl or ramekin, stir together 3 tablespoons of mayonnaise, 1 tablespoon of full-fat Greek yogurt, a teaspoon of Tabasco sauce, and 1/2 teaspoon each of Worcestershire sauce and Cajun seasoning. Pour that into the bowl with the slaw and stir to coat. Easy peasy!
The fish is a bit less easy, but it’s still completely doable. You’ll want two filets of a flat white fish. The gold standard is catfish, but I used flounder because it’s what I had. Tilapia would also be fine. Make sure they’re about 3-4 ounces each. On a large plate, combine 1/3 cup each of grated Parmesan cheese (I like the shelf-stable variety since it’s a bit dryer, but make sure you find a brand you trust) and pork rind crumbs. Add a teaspoon of Old Bay seasoning and 1/2 teaspoon of garlic powder, as well as black pepper to taste. Toss all of those to combine and set it next to your cooktop. In a bowl, combine 1/4 cup of heavy cream with 1/2 teaspoon of lemon juice. It’ll thicken up and make a buttermilk-like substance, only with many fewer carbs. Heat up 1/4 cup of avocado oil in your enameled cast-iron skillet over medium-high heat. When it’s hot enough, dip your fish into the buttermilk, coat with the crumbs, then place it very carefully into the oil. Cook for 3 minutes per side. I like to turn these with a flexible pancake turner because it supports the fish and keeps it from breaking up as it turns. It’s also really thin, so it’s less likely to knock off any of the coating. You know that meme about how by the time you’re in your 30s, you have a favorite spatula? This has been mine for several years now.
To plate this, top a chaffle with the fish, top the fish with some sliced tomato if you want, top the tomato with the slaw, and then put the top bun on. Make sure you eat it with some extra napkins, because it gets messy!

As an Amazon Associate I earn from qualifying purchases. Any embedded link to a product earns me a portion of the purchase price if you click and buy it.
A tender and succulent pork belly with a sweet Chinese barbecue marinade, sous vide braised and finished on the grill.
This savory and creamy low carb Italian sausage and pepper soup takes only 30 minutes to prepare and is perfect for a chilly fall day.
I’ve been on a kick of trying to make keto versions of regional food, especially now that the chaffle craze has made it so I can make a decent sandwich now. I’ve made Hot Browns, Nashville Hot Chicken, Biscuits and Gravy, and Beef on Weck so far, among other things. What’s your favorite food from where you live? Let me know and I’ll try to make it.
I used to do a lot of tailgating for college football, and we’d try to do a theme around the food from our opponents. Wings from when we played Buffalo, West Virginia dogs, that sort of thing. For the Nebraska game, we made Runzas, which are sandwiches made of bread stuffed with a beef and cabbage or sauerkraut mixture. Fairly simple, but it won’t work with chaffles because it’s a stuffed sandwich. That’s where the fathead dough comes in. Fathead dough is made with melted mozzarella and cream cheese combined with almond flour and egg. The cheese gives it a stretchy texture almost like actual dough. I’ve seen people use it for almost everything, even sweetened and turned into pastry! It works really well for stuffing things, so you could easily make things like empanadas with it. Or, in this case, recreating an old tailgate food.
This recipe makes a dozen sandwiches. Fathead dough freezes pretty well, so if you’re not making these for a crowd, feel free to pop your extras in the freezer and save them for a week where you don’t have time to make lunches for yourself. Just make sure you thaw them out before you reheat them.
Start by preheating your oven to 400 degrees Fahrenheit. You’ll need a couple of cookie sheets, which you’ll be rotating in and out of the oven one at a time. You can only really fit three of these per sheet unless you want to risk tearing them as you transfer them onto the sheet. So prepare those by lining them with parchment paper, and setting them aside for now.
In a large, deep skillet (like this one) over medium heat, saute one medium chopped onion (about 3/4 cup total) in a bit of avocado oil spray until it starts to turn golden brown. Turn up the heat to medium high and add a pound and a half of ground beef, two teaspoons of salt, a half teaspoon of garlic powder, and way more black pepper than you think you’ll need. Break the beef up into pieces as small as you can. When it’s fully browned, drain off the fat. You want it to eventually be as dry as possible, otherwise it’ll be soggy once it’s cooked. Once it’s drained, return it to the pan and add a bag of angel hair slaw. Mine was ten ounces. If you can’t find it in bagged form, just thinly shred a head of cabbage with a food processor or chop it as thin as you can get it. Put it in the pan, add at least another teaspoon of salt and even more black pepper, and cook it, stirring frequently, until the cabbage is cooked and all of the liquid from it has evaporated. If it’s just starting to stick to the bottom of the pan, you’re in a good place. Remove it from the heat and let it sit to cool while you make your dough.
For the fathead dough, you’ll want to make it in two batches, because the dough will lose its elasticity as it melts and you won’t be able to get everything done before that. Start with 12 ounces of mozzarella cheese and 2 ounces of cream cheese. Put it in the microwave for 30 seconds on high, take the bowl out, and stir. Put it back in and repeat in 30 second increments until the cheese is melted into a ball. Be careful not to burn it! In my microwave it usually only takes a minute. When the cheese is nice and melty and stretchy, add 6 ounces of almond flour, two beaten eggs, and two teaspoons of baking powder. Stir with a spoon at first, but eventually you’ll probably need to get your hands dirty. Spray them with oil to avoid sticking. Once everything is well-mixed, divide it into two equally-sized balls, and then divide each one of those into three equal parts. This will end up making six sandwiches.
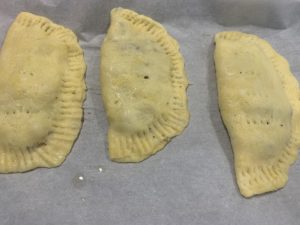
Go back to your parchment-lined cookie sheets and put three of your small balls on it. Flatten each one out until it’s thin and about 6 inches in diameter. You’ll want to spray your hands with oil to do this, otherwise your hands will stick. Once you have the three circles ready, work on the filling. Using a slotted spoon, put about 1/2 cup of filling on one side of the circle. Make sure any liquid is drained before you put it on your dough. Once you’ve added the filling, fold the other half of the circle on top and line up the edges. Using the back of a fork that you’ve sprayed with cooking spray, press the tines against the edges of the dough to seal it up, then prick holes in the top of the dough four times so that steam can let out when they cook. If the fork starts to stick, just keep spraying it. I found that one spray would work to complete one sandwich.
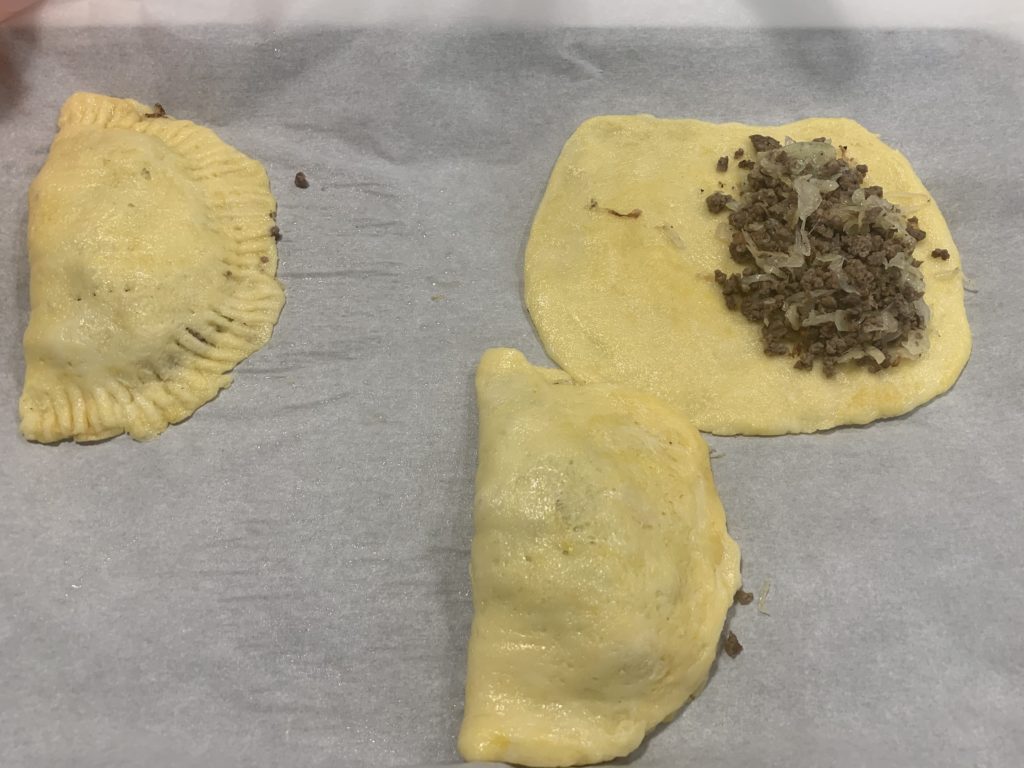
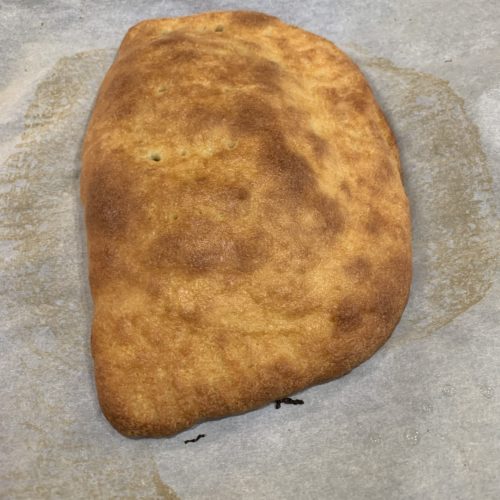
Put the three stuffed and sealed runzas in the oven for 12-15 minutes, until they’re golden brown. While they’re cooking, repeat with the remaining three balls on your second prepared cookie sheet. You should finish with plenty of time. Once the first batch is out, put the second batch in, and move the first runzas to a cooling rack or to a warmer if you want to serve them all immediately. Let the cookie sheet cool while you make another batch of fathead dough. This time, form the runzas on a piece of parchment paper on your counter, and move the parchment paper to the cookie sheet, so it has time to finish cooling and won’t melt the dough while you’re working with it. Keep doing this until you’ve made all 12. Enjoy your keto Nebraska tailgate, or just do what I did and make them for lunches!

As an Amazon Associate I earn from qualifying purchases. Any embedded link to a product earns me a portion of the purchase price if you click and buy it.
A Florida favorite, the delicious Cuban Sandwich gets a keto makeover using a sourdough and Swiss cheese chaffle bun.
Recent Comments