Chicken Paprikash with Buttered Cabbage Noodles
Hungarian comfort food, keto style.
Real Recipes for Real Families
Hungarian comfort food, keto style.
Individual keto cheesecakes in cute little mini mason jars! Sous vide has never been so adorable.
I love baklava. Back prior to my keto days (or even to my paleo days, which started around 2010), there was a guy who we used to work with who would deliver a huge tray of baklava to our office every year at Christmastime. And of course it always got set out directly outside of my office door. It was irresistible. I swear I’d gain 5 pounds every year just on baklava alone. And it’s almost impossible to duplicate in keto form. You can’t really make phyllo with fathead dough, although I’m sure someone’s tried. But what you can do is duplicate the filling, in delicious fat bomb form.
You’ll need a food processor for this one. I use your standard Cuisinart food processor, but I’ve used a KitchenAid in the past, and I would recommend both of them if you don’t already have one. So now that you (hopefully) have a food processor, throw in 4 ounces of walnuts and process them until it’s mostly walnut butter. You’ll want to scrape down the sides a couple of times. It’s okay if you leave a few little chunks of walnut in, here and there, but you don’t have to if you don’t want to. I’ve done it both ways and it works fine either way.
Once you’ve gotten the walnuts to the consistency you’d like, throw in a stick of softened salted butter. If you don’t have salted, you’ll want to add a couple of pinches of salt to taste. Sprinkle with a teaspoon of cinnamon and pour in 2 tablespoons of Sukrin Gold Fiber Syrup, which is a fairly good analogue to honey in recipes that call for it. I wouldn’t put it on a biscuit or anything, but it’s especially good in marinades or desserts that would normally call for honey. The consistency is spot on. It occasionally ends up on backorder, so if this link doesn’t work, just keep an eye out for it. I haven’t tried any of the other honey substitutes with this recipe yet, so if you try one feel free to comment and let me know how it goes!
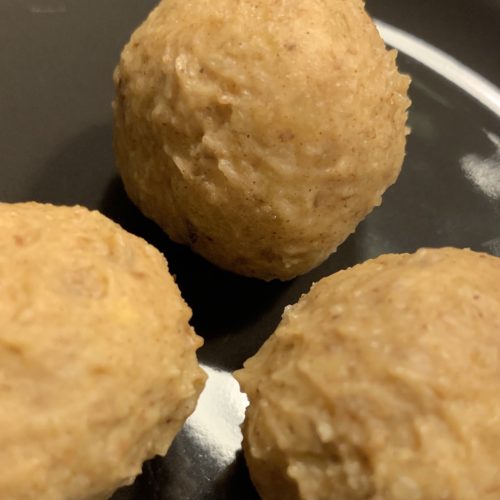
Whir all of the ingredients together. Depending on how soft your butter is, you’ll end up getting a thick pourable liquid. Pour it into a bowl and put it into the fridge for at least a couple of hours, until it’s firm all the way through. Then use your hands or a small cookie scoop to make 10-14 individual round balls. You can smooth them out with your hands if needed, but you might want to wear gloves, as they can get a bit melty and sticky. Once you’ve made the balls, you can roll them in crushed walnuts if you want some extra crunch, or just put them in the refrigerator. Make sure you eat them cold, because they’ll melt at room temperature. I won’t be putting these outside of my office at Christmas.

As an Amazon Associate I earn from qualifying purchases. Any embedded link to a product earns me a portion of the purchase price if you click and buy it.
Five ingredients and 15 minutes to a keto shrimp salad perfect for a weeknight dinner.
Six ingredients and 20 minutes to a great keto meal prep lunch!
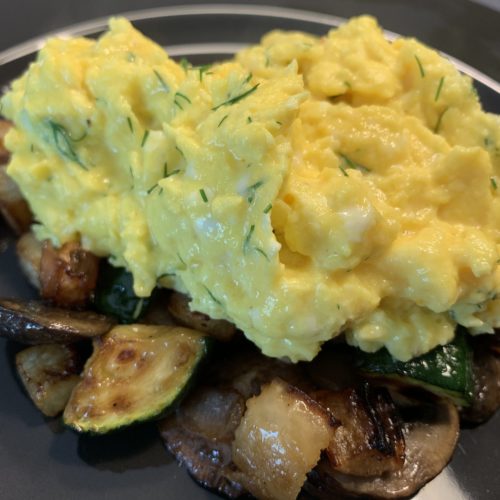
Hash is one of those fun things that you can make out of almost anything you have sitting around in the fridge. This one might require a special trip to the store, though. It involves one of the most interesting potato substitutes I’ve ever seen, daikon radish.
You should be able to find daikon at your grocery store, but if you can’t, it’s worth a trip to an Asian supermarket. It’s a long white tuber that looks like a really thick parsnip. It’s much lower in carbs, though. Tastes a bit like a water chestnut with a slight radish flavor. With the proper preparation…well, let’s not kid ourselves. You’ll never mistake this for potato. But it provides a really flavorful addition to your standard hash. If you have some non-keto folks eating this, it’s really easy to make some frozen cubed hash browns with this and mix in the veggies separately for their servings.
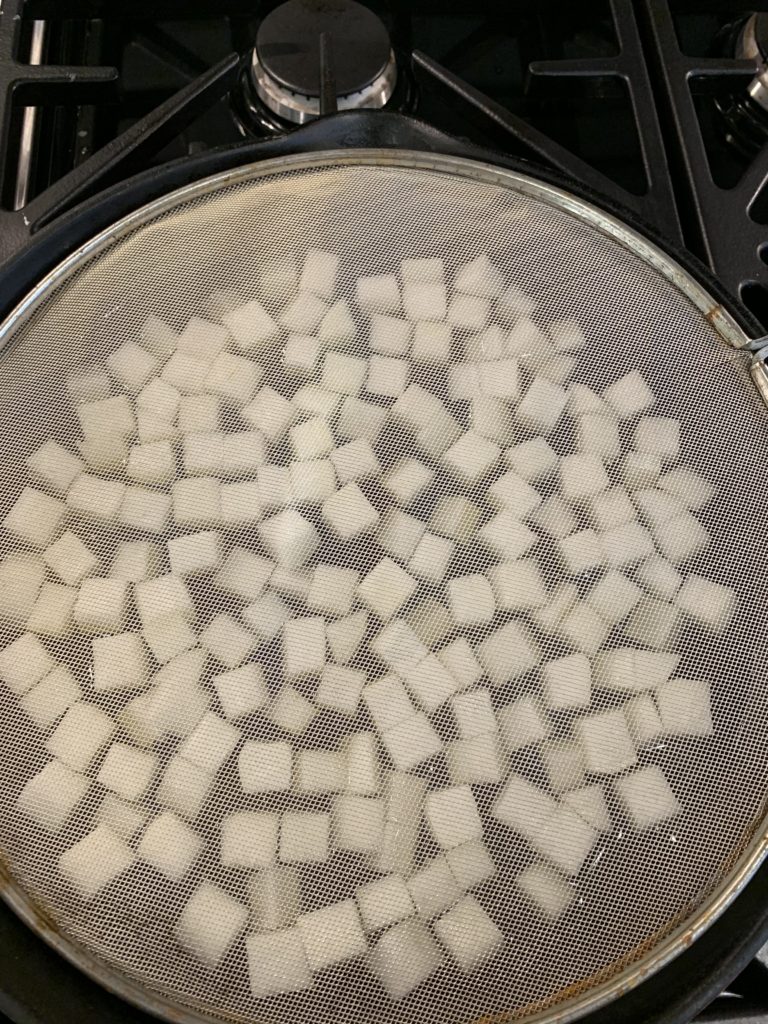
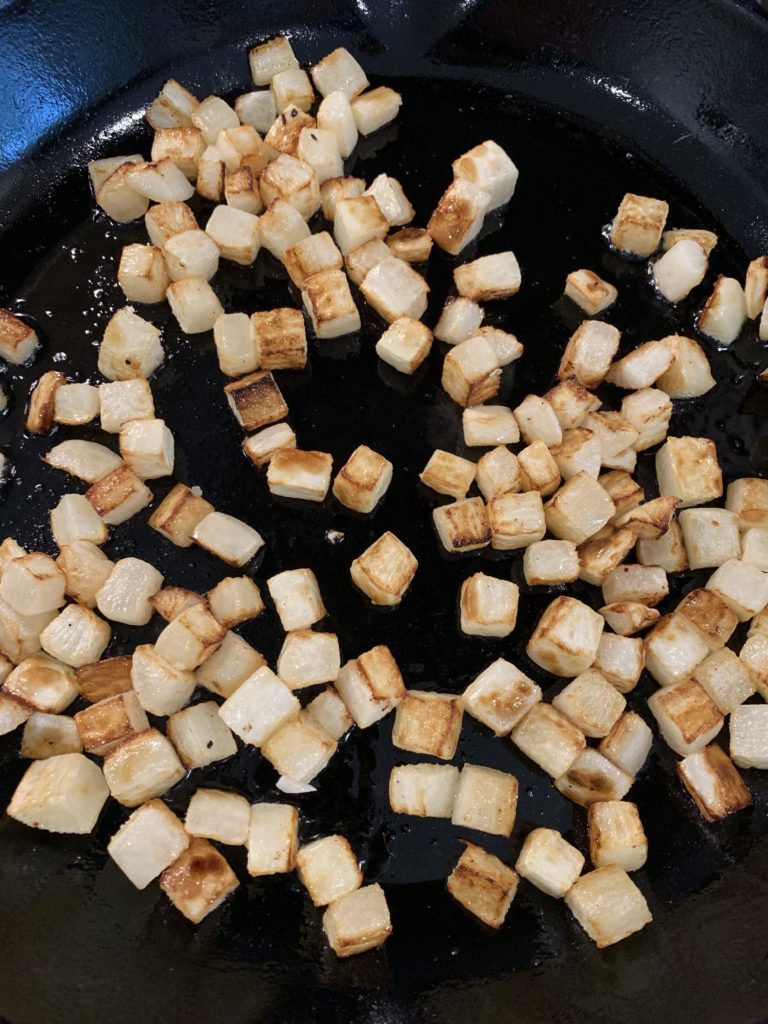
The daikon does take a bit of preparation, but it’s worth it. In order to soften the texture, you’ll want to cook it down in some liquid. I prefer chicken broth for this, as it imparts a great flavor, but if you’re vegetarian, vegetable or straight mushroom broth would be perfect. Water with a bit of soy sauce might also work, just make sure to adjust your salt accordingly. Start with 12 ounces of daikon, peeled and cubed to roughly the size of cubed hash browns. Evenly space the cubes in an enameled cast-iron skillet, then pour a cup of broth and two tablespoons of avocado oil over them, then put the burner on medium-high heat. You might want a splatter guard for your skillet to save your counters and stovetop. You’ll want to cook these, turning occasionally, until the liquid is boiled away, the daikon is softened, and only the oil remains. At that point, fry them until they’re golden, turning occasionally to make sure they crisp up, sprinkling with a pinch of salt. When they’re done, remove them from the pan and put them in a bowl.
While the daikon is cooking, you’ll want to get the rest of the ingredients ready. The next step involves an 8-ounce container of sliced mushrooms and half a cup of chopped red onion. Rinse your mushrooms if they aren’t already, then put them and the onions in the still-hot skillet. Cook until the mushrooms finish releasing all their liquid and it cooks off. Make sure the mushrooms are nice and golden brown and the onions are translucent and starting to get golden around the edges. Sprinkle them with a pinch of salt when the liquids start drying up. When they’re done, put them in the same bowl the daikon ended up in.
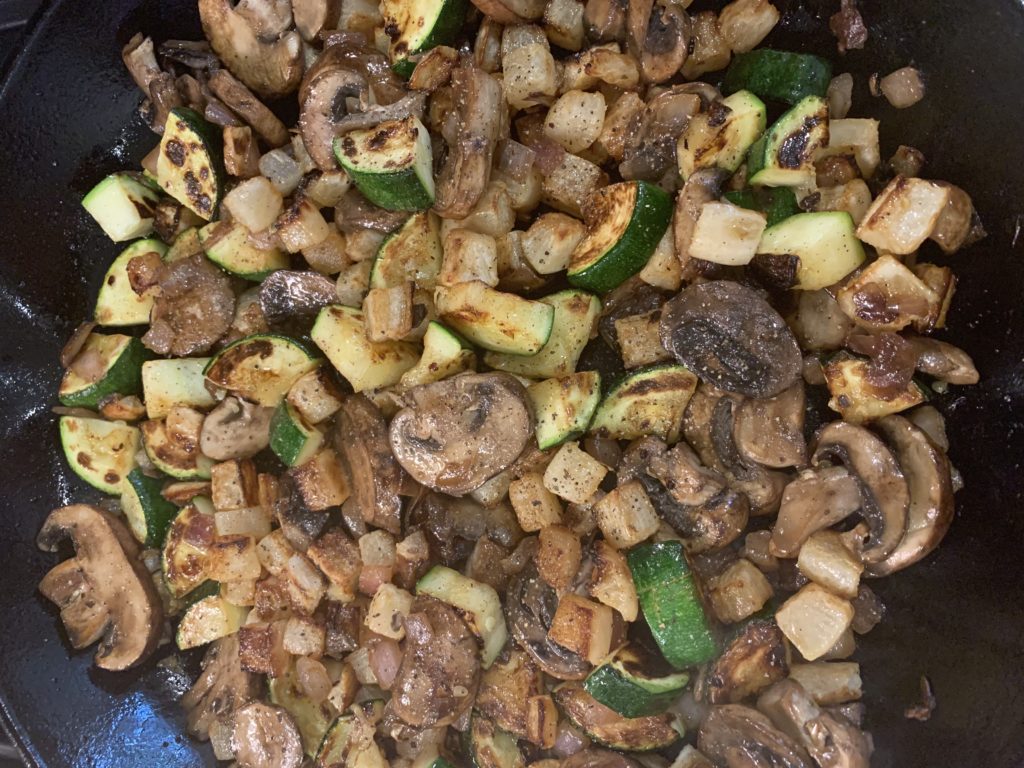
Your next step is the zucchini. Rinse, cut off the ends, cut it lengthwise, then cut each length down the middle again and slice into wedges that are about a half-inch thick. Add another tablespoon of olive oil to the pan, and put the zucchini in, evenly spaced. Check them after about three minutes, and when they’re nice and caramelized on the bottom, flip them over using tongs and cook them on the other side. Add the daikon and mushrooms, sprinkle with pepper, and toss until they’re well-mixed. Remove from the heat.
If you’re going to serve this immediately, you can do a standard hash and top with poached eggs, and that would be fine. But since I was doing this for meal prep, the eggs wouldn’t have reheated well, so I had to go with scrambled. This one was pretty simple. I beat together 10 eggs with 1/4 cup of sour cream, then scrambled in a non-stick skillet with 2 tablespoons of butter until soft. I added about two and a half tablespoons or so of chopped fresh dill when they were about halfway done. When they’re done, sprinkle them with kosher salt and pepper to taste. Serve the eggs on top of the hash. My only regret is that I didn’t have goat cheese to crumble on top!

As an Amazon Associate I earn from qualifying purchases. Any embedded link to a product earns me a portion of the purchase price if you click and buy it.
Recent Comments